
Simple Summer Tartlets
On August 13, 2012 by sixtyacrebakerThis is not a recipe. It’s more an idea of what can be done with fresh, peak of the season, fruit.
Simple Summer Tartlettes
nectarines
apricots
marzipan
puff pastry
sugar
cinnamon
Line tartlette pan with puff pastry, rolled to 1/8th inch thickness. Place in the refrigerator to get nice and cold. Meanwhile, thinly slice fruit, keeping skin on. Roll out marzipan to an 1/8th inch sheet and gently lay a round into the bottom of the pastry lined tin. Arrange fruit in a thin layer on top. Sprinkle a bit of sugar and cinnamon on top (like you would salt and pepper…do not be heavy handed). Bake at 400 until the pastry is browned and crisp (about 15-20 min). Serve with vanilla ice cream or a dollop of creme fraiche.
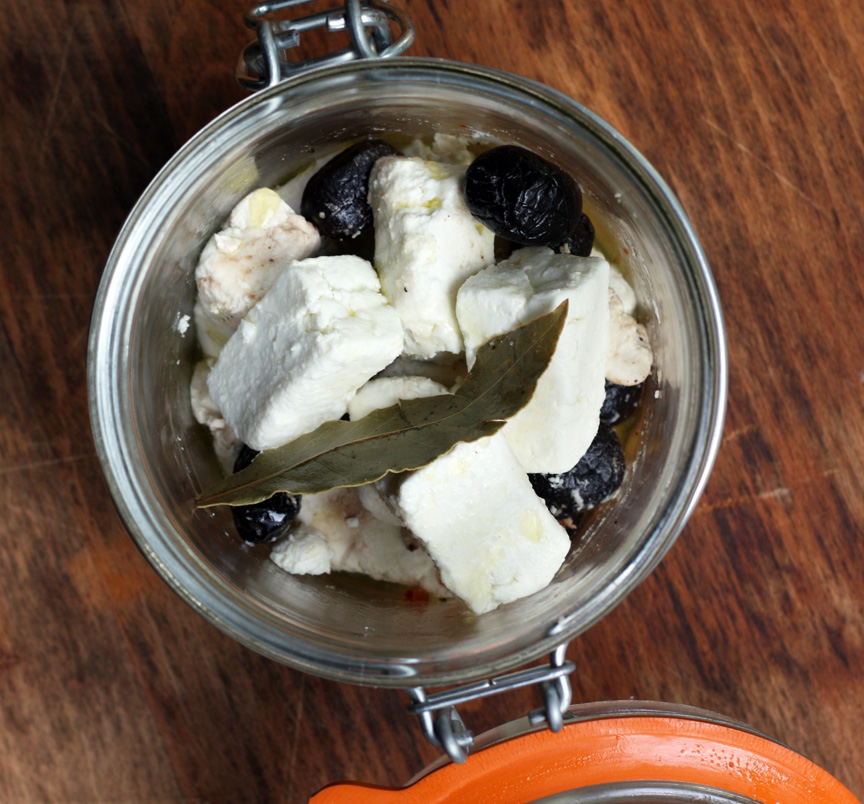
Feta Cheese
On August 4, 2012 by sixtyacrebakerMaking cheese can be labor intensive, but it is not difficult. It requires attention to detail, a super clean work area, a few specialty ingredients, and patience. Feta cheese is aged in a brine; making it salty and creamy.
Feta Cheese
1 gallon pasterized goat’s milk (do not use ultra-pasterized)
1/4 tsp aroma B mesophillic starter
4 drops (double strength*) rennet
1/4 cup non-chlorinated (bottled) water
butter muslin
flake sea salt or kosher salt
for brine
8 cups water
1/2 cup kosher salt
Heat the goat’s milk slowly in a large heavy stock pot to 74F. Remove pot from the flame and burner (but leave on stove), and gently stir in the mesophillic starter. Allow to sit for 10-15 minutes before moving on to the next step.
Meanwhile, mix the rennet into the 1/4 cup water and after the wait time, gently stir into the milk pot. Do not scrape the sides or bottom of pan, but gently stir for about 2 minutes. Cover the pot and leave on the back of the stove undisturbed for 12 hours. the objective is to keep the milk at the 74F for the entire time
After 12 hours, gently ladle the curds into a muslin lined colander (over a bowl if you wish to keep the curds). Allow it to sit uncovered for 1 hour. After 1 hour, tie the ends of the butter muslin to create a pouch that can be suspended or hung**. I tie the pouch to my sink faucet and allow the curds to drain directly into the sink. It is also easy to run a wooden spoon through the knot and suspend the pouch over a deep pot. Allow the curds to drain for a full 12 hours. Open the pouch remove the curd mass (it should be fairly stable) and flip it over. return it to the butter muslin and suspend for an additional 12 hours.
**an alternative: after you have drained the curds for the initial 1 hour, you can transfer the curds to a muslin lined plastic tomato basket, flipping every couple of hours. this will give you a more uniform shape.
remove the curd, which should now be quite firm, from the cheesecloth and place on a draining mat, or surface that has small holes (cooling rack, pizza pan, bamboo mat). Cut the curds into desired size (about 1″x1″ or larger for interesting presentation). Lightly salt all sides of the pieces and allow to dry for 3-5 days uncovered in your refrigerator. you are looking for the pieces to become a bit yellow on the edges. Prepare your brine with enough advance that it is cooled to approx 60F by the time you are ready to use it (you can store it in the refrigerator if made in advance). To prepare the brine, simply boil the water and add the salt. stir to dissolve completely.
When ready to brine, place the dried cheese pieces in a glass jar, careful not to jam and pour the brine over. cover the jar and brine the feta for 2-3 weeks before enjoying. You will notice the flavor builds as time progresses. If stored properly, this will last about 6 months (although i dare say it is so delicious, it probably won’t make it that long!)
I find the brine a bit salty, so I quickly rinse my feta in non-chlorinated water, and gently dry with a paper towel before eating. It is delicious & beautifully presented with strong black olives, a bit of hot pepper, and a drizzle of olive oil.
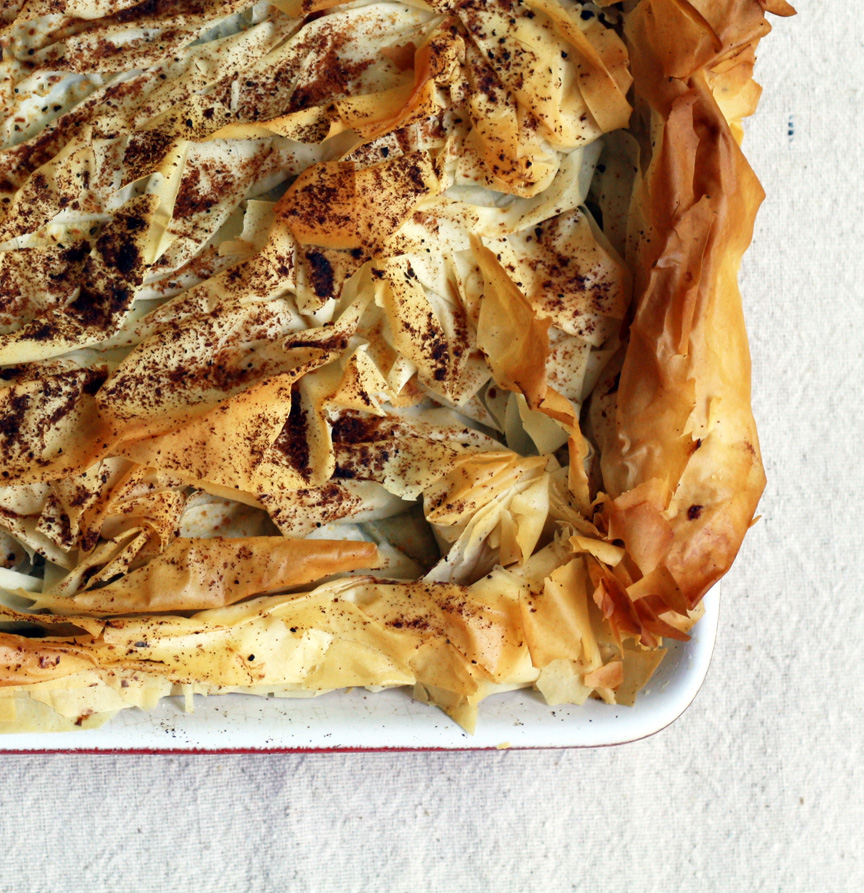
Chard & Ricotta Pie
On July 29, 2012 by sixtyacrebakerWhen we are up at the cabin, I don’t always have a full larder. I do however, have a garden and a few cheats in the freezer. This invariably leads to simple and creative dinners. I was able to whip this up in a snap. Mostly because, our garden overflows with chard.
Chard and Ricotta Pie
10 sheets filo dough
olive oil
grated parmesan
1 garlic clove–finely chopped
1/2 medium onion–finely chopped
2 Tbs olive oil
1 bunch (about 12 large leaves/4 cups chopped)–chopped–discarding stems
1 cup ricotta cheese
1/4 cup grated parmesan
2 eggs
1 tsp lemon juice
1/4 tsp red pepper flakes
1/4 tsp freshly grated parmesan
a few turns of the pepper-mill
Use an 8×10 pan. Layer the filo by brushing each sheet with olive oil, and a light sprinkle of parmesan cheese. The bottom layer should be 6 sheets. Trim the ends and set aside. In a large skillet, heat the olive oil on low–toss in the garlic and onion. cook just until the onions begin to sweat and turn translucent. Do not allow the garlic to brown. Toss in the chard and allow to wilt, giving a good stir to evenly cook. After about 5 minutes, toss in about 1/4 cup of water and cover. Allow the chard to get nice and soft. allow to cool slightly. strain off the liquid and place in a bowl. add the ricotta, parmesan, lemon juice, red pepper flakes, and pepper.
evenly spread into the prepared filo crust. Take the remaining 4 leaves of filo one by one and scrunch them in a loose accordion. Place on top of the spinach layer, making sure to cover the entire top of the pie. Drizzle with olive oil and sprinkle a bit more cheese.
Bake at 375F for about 30-35 minutes. You will look for the filo to be nice and crispy. Serve warm or room temperature. This is very easy to crisp up in the oven for a “next-day” treat!
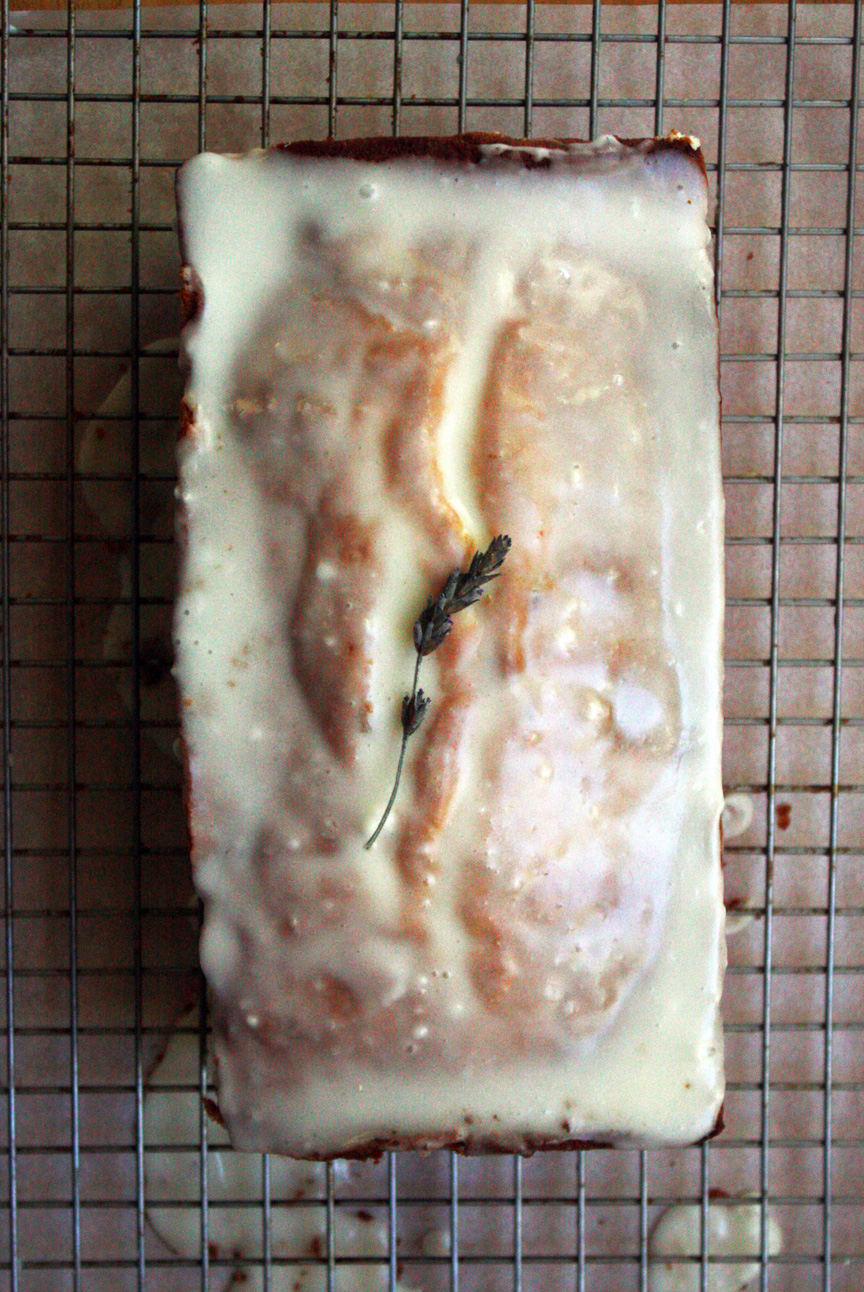
Lemon Lavender Cake
On July 20, 2012 by sixtyacrebakerI love lavender-trimming day. Delicate buds not yet spent, but given their pollen to the bees, at the ready for culinary cajoling. I bundle the limping stalks, tacking my baker’s rack with lines of purple. A scent of Provence fills the air. I toss the dried buds in everything from simple syrup to custards, aioli to bitters, shortbread to biscotti. I especially love it in this cake.
Lemon-Lavender Cake
(this is a riff on a classic 1-2-3-4 cake)
cake
1 cup unsalted butter–room temperature
2 cups sugar
3 cups flour
4 large eggs
1 cup buttermilk
½ tsp salt
½ tsp baking soda
1 Tbs lemon zest
juice of 1 large lemon
1 generous tsp dried lavender buds
Cream butter and sugar until light and fluffy. Add eggs one at a time fully incorporating after each addition. Stop and scrape down the sides with a spatula and resume beating until the mixture looks like buttercream frosting. Meanwhile…in a separate bowl, whisk together the flour, salt and baking soda. Combine the lemon zest, lemon juice and buttermilk together. With the mixer on low, alternately mix in the flour and buttermilk, beginning and ending with the flour, in 3 additions. Do not over-mix, just allow the ingredients to come together. Stir in the lavender. Pour into 2 loaf pans that have been coated in pan spray. Bake at 325 F for approximately 50 mins. Check for doneness after 40 minutes. Cake is fully baked when a toothpick inserted in the middle comes out clean.When cool, pour glaze over.
glaze
1 cup powdered sugar
1 Tbs cream
Juice of lemon (more or less to your taste)
Stir together and pour over cooled cake.
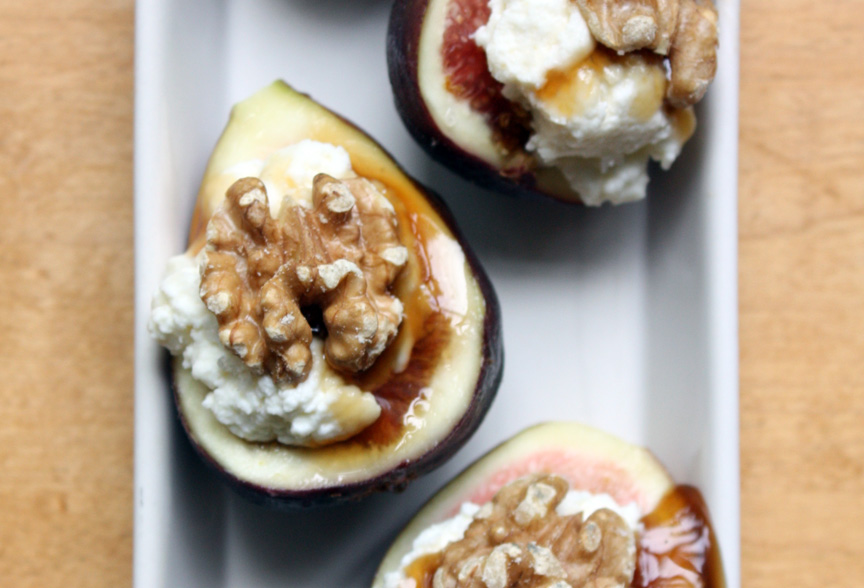
Ripe Figs with Ricotta & Honey
On July 13, 2012 by sixtyacrebakerIt is a given; if i were to find myself naked, roaming the garden of Eden, I surely would be occupied with plucking and eating figs. Not with modesty <strong<of.any.sort. Figs are good fresh or dried, plain & gilded. For a simple and gorgeous treat; serve these as an appetizer or dessert.
Gilded Figs
ripe fresh figs
ricotta cheese (fresh if you can get it)
sea salt
honey
toasted walnuts
Slice the figs in half, and put a generous scoop of fresh ricotta on top. Drizzle your best honey to just cover the ricotta, sprinkle a few grains of sea salt and top with a walnut half. Serve chilled or room temperature.
tastes great accompanying a cold glass of Prosecco
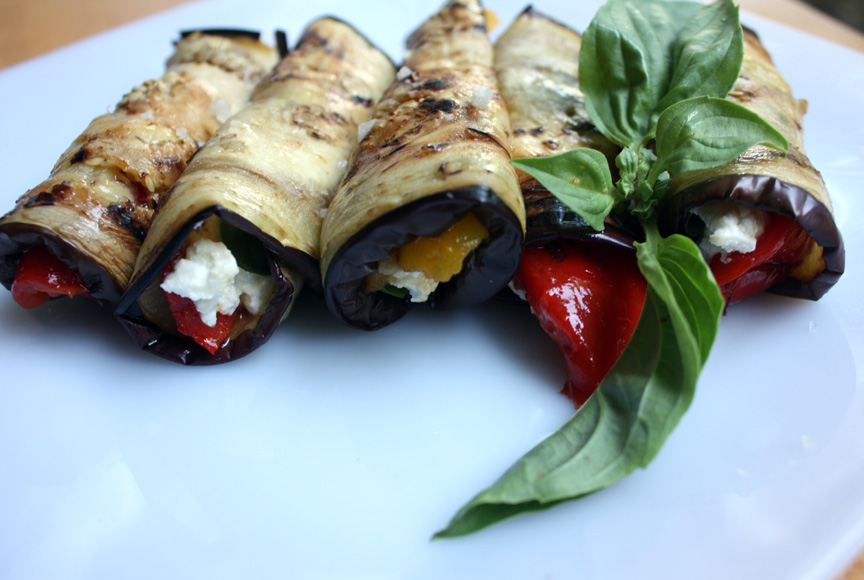
Eggplant Involtini
On July 7, 2012 by sixtyacrebakerWith the sun low and a slight breeze cooling the warm air, summer evenings are ripe for a picnic. We like to hitch the dogs, grab a well worn blanket, load a basket of tidbits and head out to: our garden, the beach, a park, a concert, or sometimes just the porch. A favorite tidbit, this time of year are these.
Eggplant Involtini
eggplant
roasted peppers
fresh basil leaves
soft goat cheese
2 cloves garlic-peeled and smashed
1/2 cup olive oil
salt & pepper
Place the olive oil smashed garlic in a small saucepan and heat to warm. this process is to simply infuse the garlic flavor into the oil. Set aside and allow to infuse for an hour. Remove the garlic and store extra oil in the refrigerator. Slice the eggplant into slices no thicker than 1/4″. Layer slices between paper towels and let dry out for several hours or overnight. Heat a large skillet over medium heat. In batches, place the eggplant in the skillet. do not use oil, you will be dry frying. Turn when soft and brown and brown the second side. Remove from heat and place on plate and allow to cool to room temperature. Once cool, take a slice of eggplant and brush the top with the garlic oil to coat, but not saturate. Place a piece of roasted pepper across the middle, add a generous dollop of goat cheese. Give a quick sprinkle of salt and pepper, and top with a basil leaf. Roll overlapping the eggplant ends and place closure side down. brush a bit more olive oil over the top. Serve cold or room temperature.
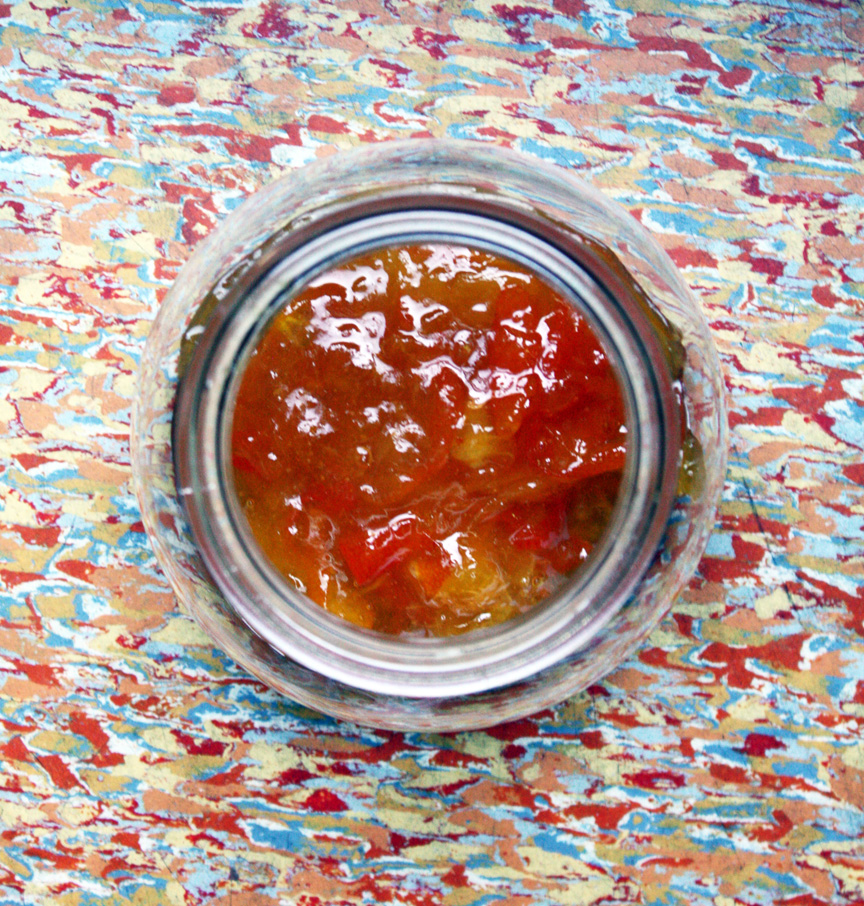
Boozy Kumquat Marmalade
On June 29, 2012 by sixtyacrebakerIt is a thousand degrees in my kitchen. So warm I keep the lights off; somehow believing darkness=cool. Not. Really. Working. Yesterday Mike and I did a drive by pick off. You see, the day before, we were at my brother’s new home
and I noticed a line of kumquat trees. My brother didn’t know what they were, so i figured he wouldn’t mind if I took a handful or 10. Yesterday, while he was at work, we helped ourselves. Today, I didn’t feel much like hovering over the hob stirring & canning. So, I prepared a small batch. 3 jars: one for us, one for him, and one for pouring over vanilla ice cream. no canning required. With a sweet as honey peel and puckering sour flesh, kumquats make a perfect marmalade. Add a splash of booze and it becomes an adult only morning treat.
Boozy Kumquat Marmalade
3 cups finely slice kumquats (pits removed)
1 cup granulated sugar
1 generous shot tequila
pinch of kosher salt
Place all ingredients in a glass or ceramic bowl and let steep for about an hour. Dump into a heavy-bottom pot and cook over medium heat. Let simmer until it becomes jammy..about 20 minutes. Stir occasionally and watch it closely. you do not want it to become like sticky candy. Pour into sterilized jam jars and allow to come to room temperature. Store in the refrigerator.
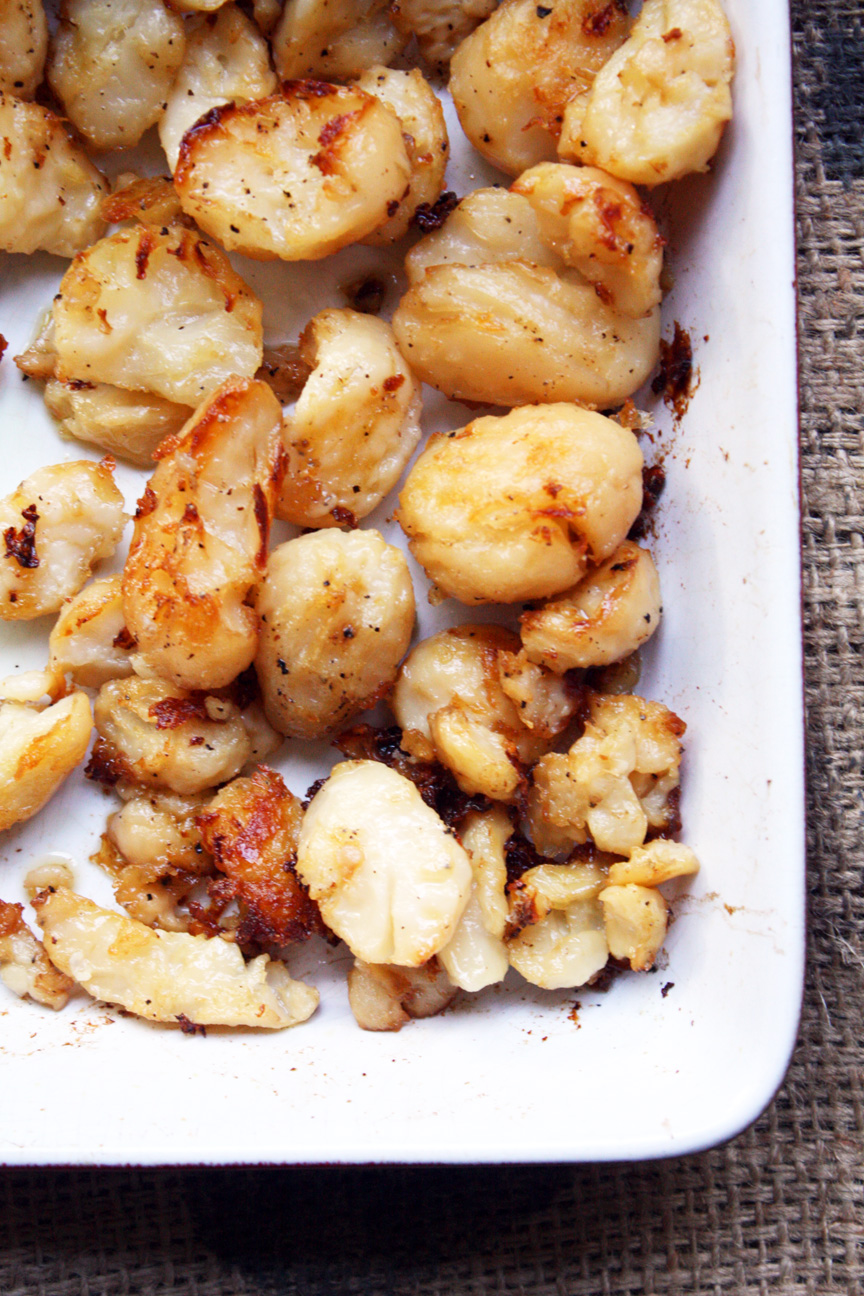
Super Crispy Roasted Potatoes
On June 22, 2012 by sixtyacrebakerI realize this favorite isn’t homegrown, harvested, highbrow, organic, or local. I’m not even sure I can say something as clever as canned at the peak of freshness. But when you are craving crispy crunchy roasted potatoes without time
to par boil and pre-roast, these are just the trick.
Crispy Crunchy Roasted Potatoes
canned whole potatoes–drained
olive oil
salt
pepper
Preheat the oven to 450F. Dry the potatoes thoroughly. Using a fork, score each potato with nice deep ridges. The potato may fall apart in your hands…no problem. Toss the potatoes into a oven safe casserole dish. Take the fork and gently smash the potatoes…not to pulverize, but to open them up a bit, but so that they still remain in one piece. The idea here is to create as many scraggly surfaces as possible…that is what gives you the crunchy bits. Drizzle olive oil over the top…be generous, but don’t let them swim in it. Use enough oil so that each potato has a light coating. Mix them up with your hands to ensure proper coverage. Generously sprinkle with freshly ground black pepper and kosher or sea salt. Roast, uncovered for 45min to 1 hour. Check on them periodically and scrape from the bottom to prevent sticking (maybe a couple of times during the hour).
*these potatoes have been canned in water, so they will retain moisture for quite a long time. even when the outsides are good and crispy, you will still get a creamy interior.
**these are also really yummy with some herbs tossed in…rosemary is classic, but i love thyme with few sprinklings of lemon zest.
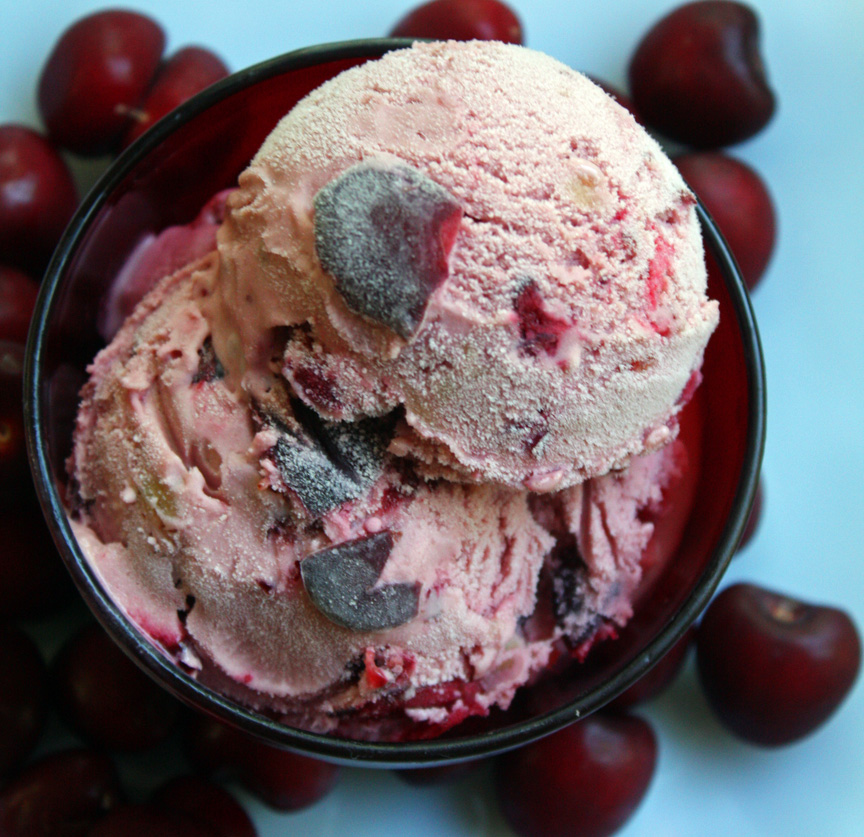
Cherry Marzipan Ice Cream
On June 18, 2012 by sixtyacrebakerRecently, in an early morning whim, I dragged Mike to a far-off orchard to pick a bushel of cherries. As we stood in the shade of a tree, him reaching to higher branches, and I for the low hanging fruit; I, cherry stained and gleeful, half whispered “isn’t this just so much fun”. To which Mike responded, as he bent a branch to my reach; “No. This is torture, but i am happy you are enjoying it”. This ice cream is a love letter filled with sweetness of ripe fruit, rich-depth of ground almonds, & deep warmth of a stiff drink, from me
to him.
I must tell you this is not a difficult recipe, but it is complicated taking many steps and some time but if you are an ice cream person with a special occasion on the horizon, you should make this. It is seriously good
Cherry Marzipan Ice Cream
step 1
3/4 cup milk
2 cups pitted cherries (reserve pits)
1 cup heavy cream
1/4 cup granulated sugar
1/4 tsp kosher salt
step 2
3 egg yolks
1/4 cup granulated sugar
2 Tbs cherry herring liquor (optional)
1/4 tsp almond extract
1 cup heavy cream
step 3
1 cup chopped cherries
1 Tbs lemon juice
1/4 cup sugar
3-4 oz marzipan–cut into bits the size of a small almond
step 1
blend together the pitted cherries and milk to break up, but not puree the cherries. place in a heavy saucepan. add back the cherry pits and stir in 1 cup heavy cream, 1/4 cup sugar and salt. bring to a simmer then turn off heat. allow to steep a minimum of 2 hours or until cool. *if you allow to sit more than 2 hours, place in the refrigerator to steep after 2 hours have passed.
step 2
strain the mixture and place into a clean saucepan. meanwhile, whisk together, in a bowl, egg yolks, 1/4 cup sugar, cherry herring (optional), and almond extract . whisk until the egg becomes pale and all ingredients are fully incorporated. heat the cherry-cream mixture to a simmer, then pour about 1/2 of cup into the egg mixture whisking the egg mixture while doing so. this is called tempering the eggs. slowly pour the remaining warm cream mixture into the egg, and whisk until fully incorporated. pour the egg mixture back into the saucepan and place over very low heat. using a rubber spatula, continually stir the egg mixture until it begins to thicken to a nappe (you should be able to wipe your finger across the back of the spatula and have the “trail” remain. do not let the mixture simmer or boil. once you have obtained the desired consistency, pour mixture through a sieve into a clean bowl. allow to cool for 1 hour, then add 1 cup heavy cream and stir to incorporate. refrigerate 8 hours or overnight to meld the flavors.
step 3
at least 1 hour before churning, place 1 cup pitted and chopped cherries, lemon juice and 1/4 cup granulated sugar in a bowl and macerate for 1-2 hours.
step 4
prior to churning the ice cream, drain the macerating cherries and stir the juice into the ice cream base. churn your ice cream according to the manufacturers instructions. in the final minutes of freezing and churning, add in the cherries and marizipan and allow them to mix in fully. the ice cream will be quite soft. eat immediately, or freeze until ready to enjoy.
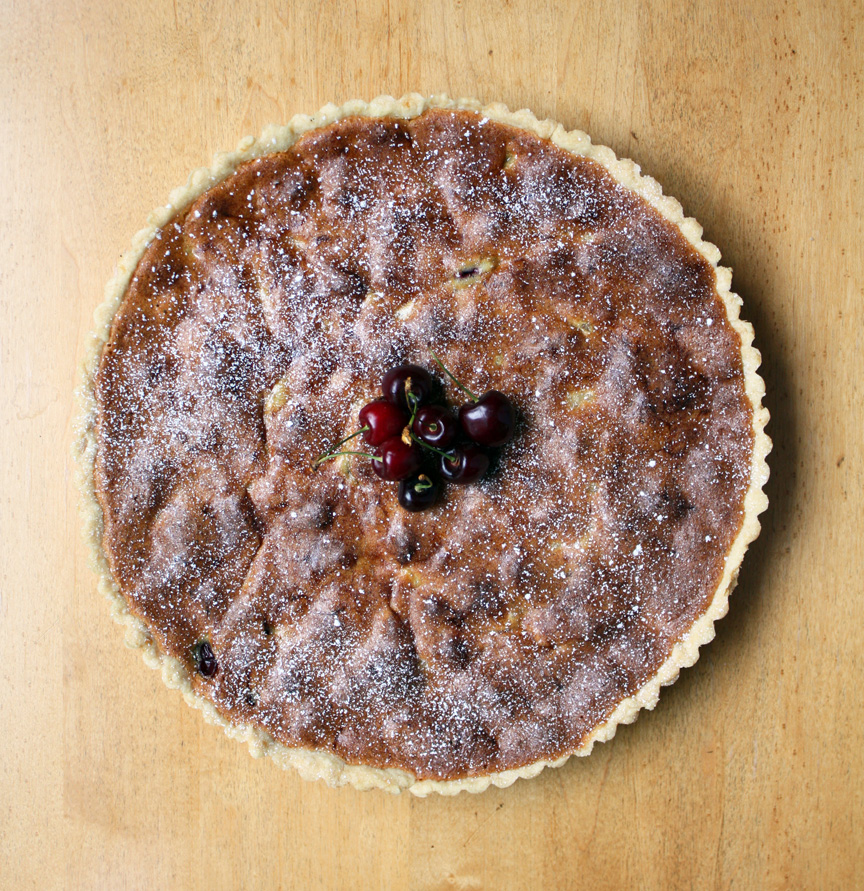
Cherry Frangipane Tart
On June 14, 2012 by sixtyacrebakerWe went cherry pickin’ this week. All i could think about was my corporate days when i said things like; “don’t cherry pick the good deals” & “let’s start with the low hanging fruit”. I thought everyone would understand the analogy, not fully realizing until in the orchard, how much more relevant the statement is when you are actually cherry picking, the low hanging fruit. Especially when you are only 5 feet tall. I love frangipani which is an almond paste custard, of sorts. Cherries & almond are a delicious combination.
Cherry Frangipani Tart
1 pie crust for 10″ tart pan
8 oz almond paste
1.5 oz sugar
3.5 oz butter (softened, but still slightly firm)
3/4 oz all purpose flour
1/4 tsp kosher salt
1/2 tsp vanilla
4 extra-large eggs ( room temperature)
3 cups pitted sweet cherries (fresh or frozen)
Line a 10″ tart pan with crust. Refrigerate while you make the filling. Preheat oven to 350F. Using a mixer with paddle attachment, beat the almond paste and sugar. Gradually add in the butter in large pieces until fully incorporated. Add the eggs one at a time beating after each addition. Stop the mixer and scrape down the sides as you go. After all eggs are incorported, beat for 30 seconds on high speed. Add vanilla. stir in the flour and salt until just incorporated. Pour into the tart shell. Working from the outside in, place cherries in the almond custard in concentric circles, close together, but not touching. Place tart on baking tin and bake for approximately 50-60 minutes. The frangipani will rise and brown, but should not souffle. It is done when just firm to the touch and the crust is slightly golden.