Coconut Frozen Yogurt
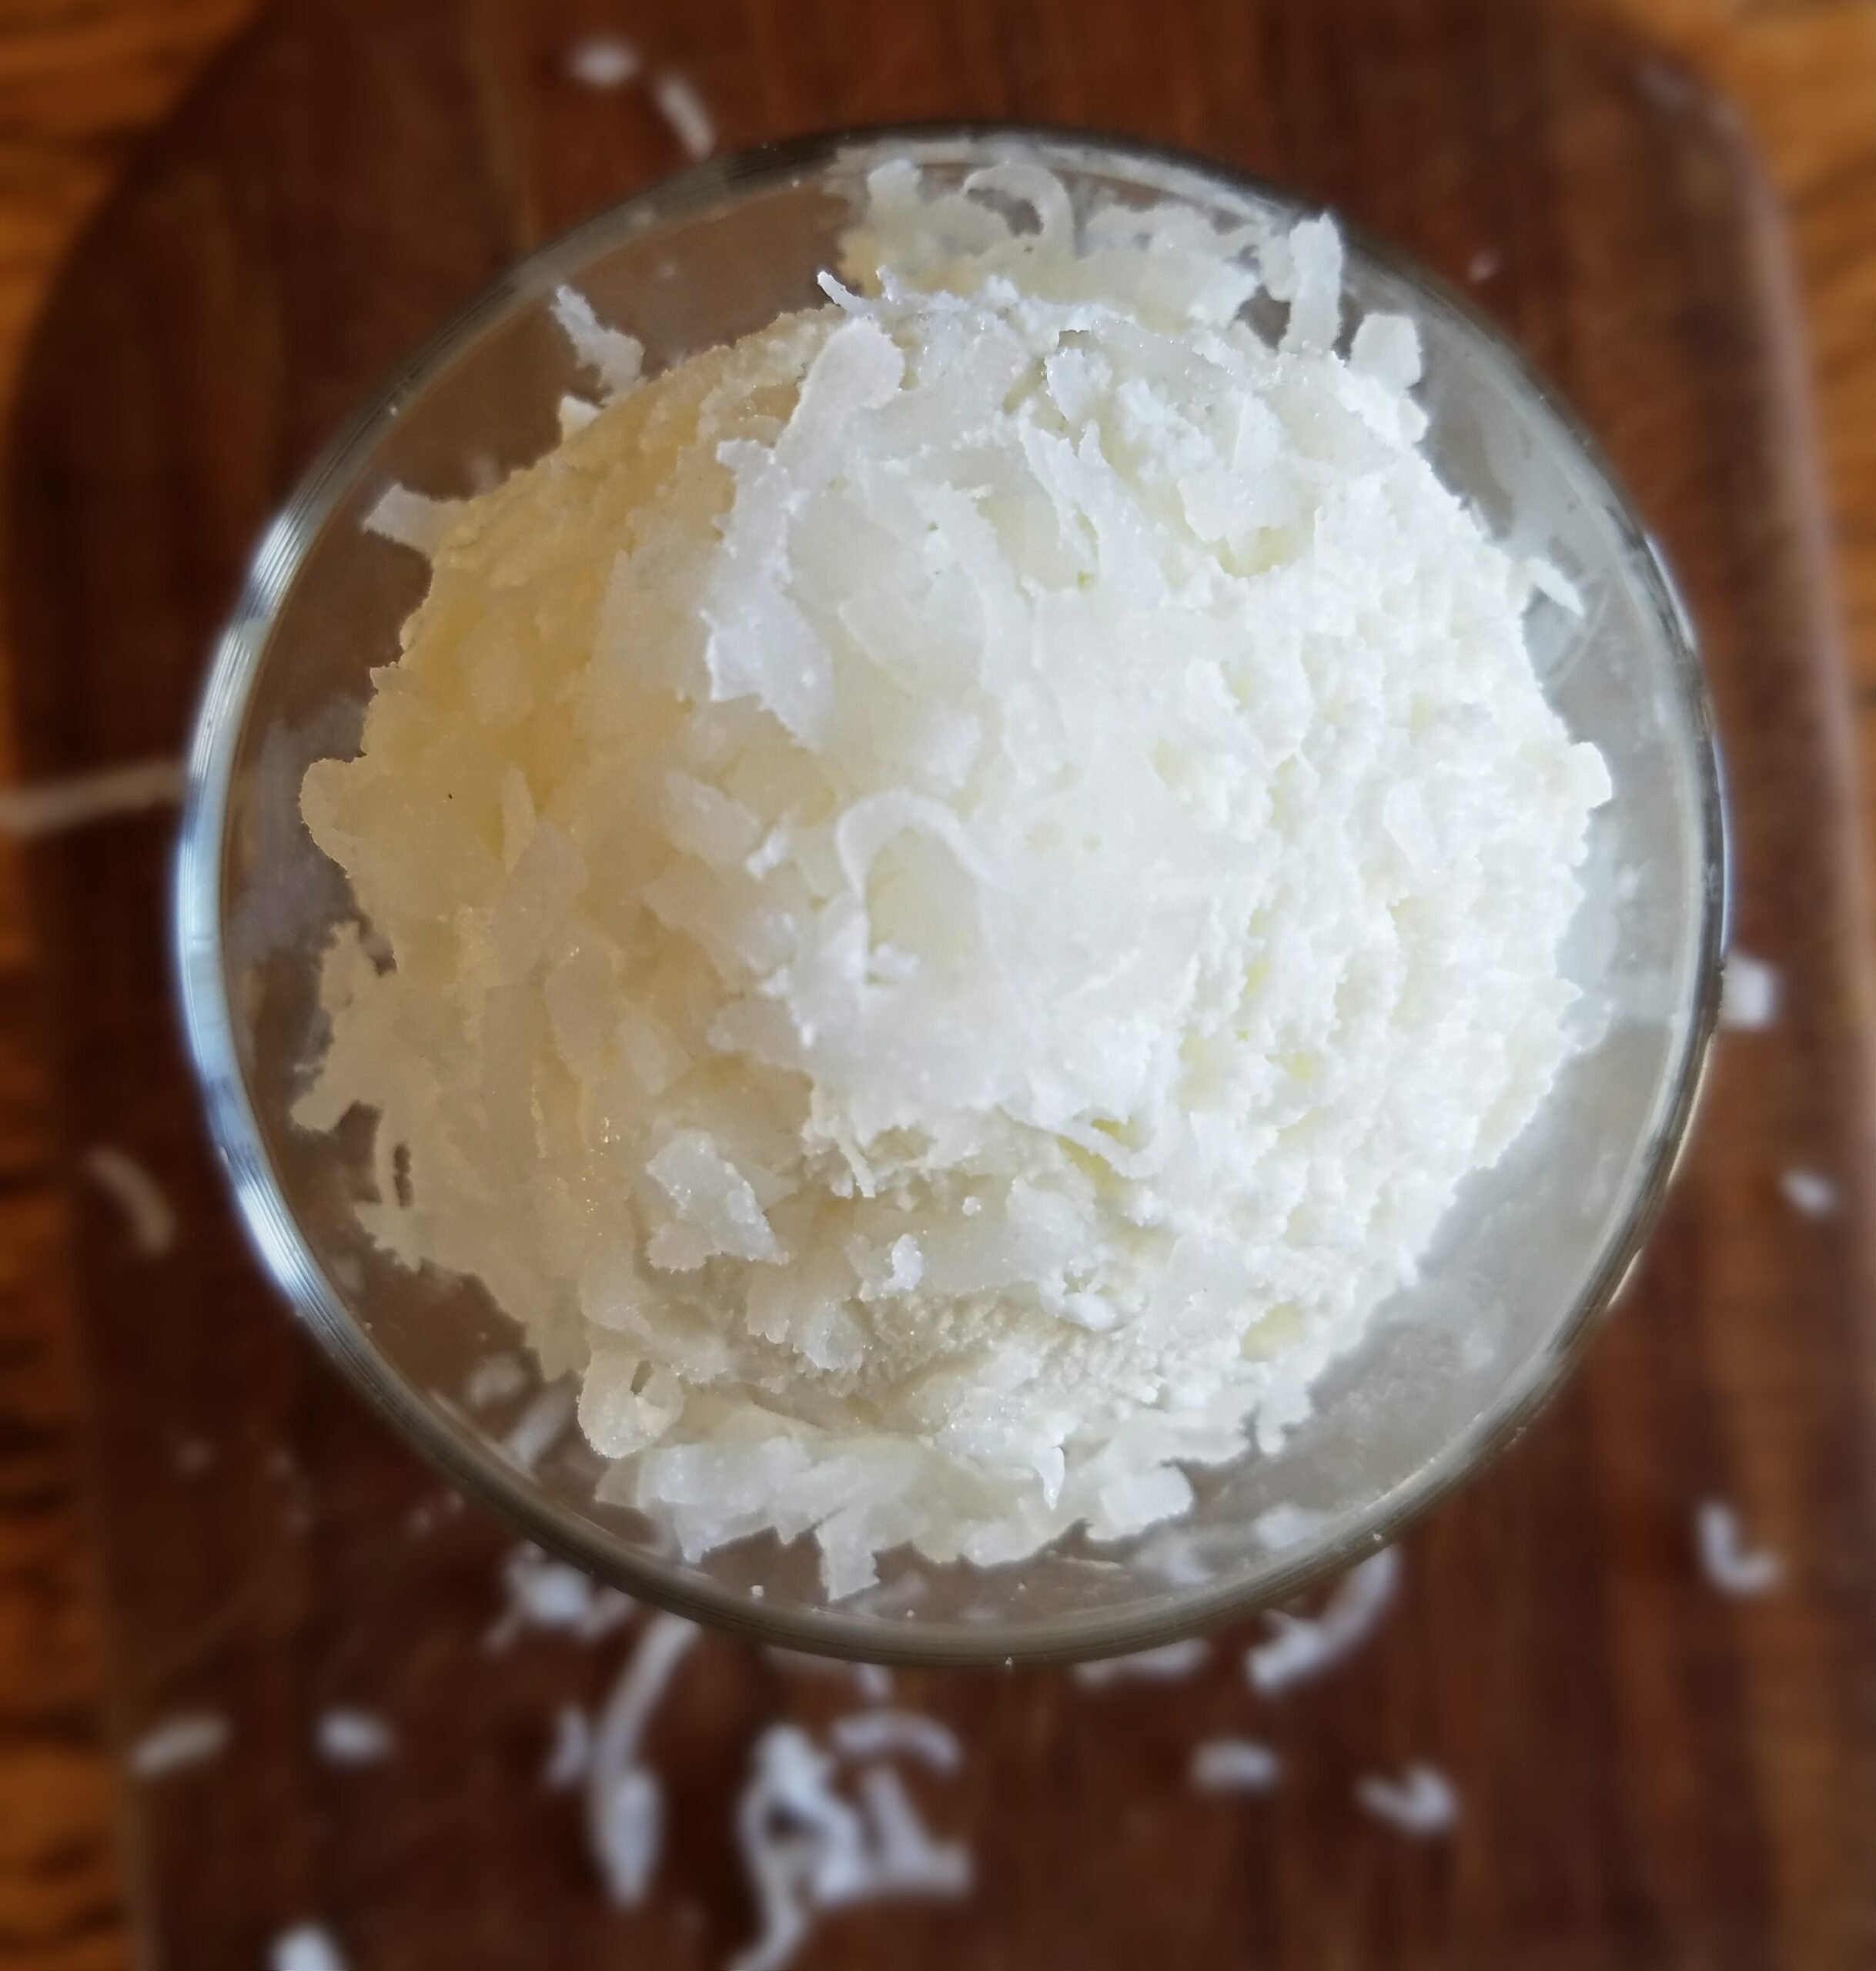
On August 8, 2016 by Christy LarsenI’m going to tell you a secret. Frozen yogurt is supposed to taste like yogurt that is frozen. It isn’t supposed to taste like sweet cream, or air. It is a rule that a nation of serve yourself fro-yo stores doesn’t know. Allegedly.
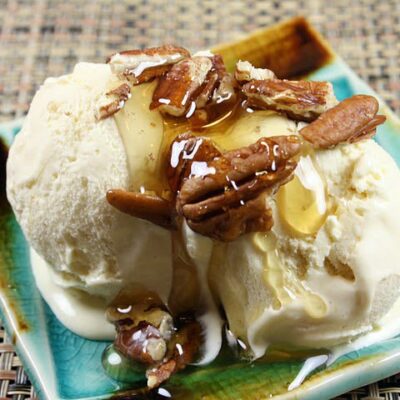
Because we have dairy goats, this recipe uses goat yogurt, but you can substitute with cow or sheep as you like. The end result has a yogurt tang to it…which is intentional. It tastes lightly sweet, very creamy and very coconutty.
Enjoy!
Coconut Frozen Yogurt
3 cups plain {unsweetened} yogurt
1 cup granulated sugar
1 cup coconut flakes {sweet or unsweetened–your choice}
1 1/2 cups coconut cream
1/4 tsp coconut extract {optional}
Heat the coconut cream, sugar and coconut flakes in a saucepan until just simmered and the sugar has melted. Allow to cool for 10 minutes. Stir into the yogurt and add the coconut extract, if using. Cover and refrigerate overnight or at least 4 hours. Churn in your ice cream maker according to manufacture’s instructions.
Pizelle
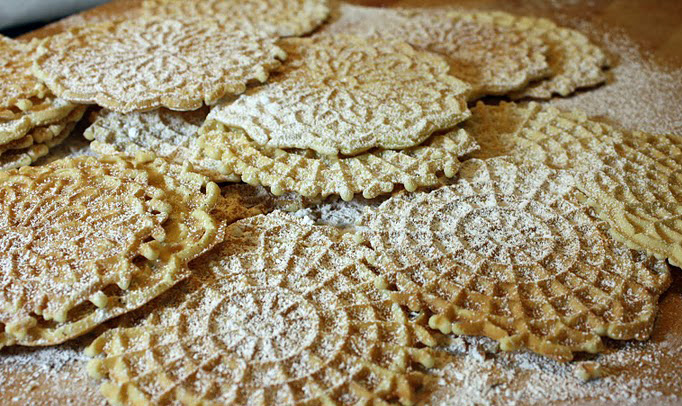
On December 15, 2015 by Christy LarsenI learned to make pizzelle at the knee of my great-aunt rose when I was quite young. She was an amazing baker and a real stickler about cleanliness. It was more than once that the “no lick” rule was enforced. Each time i lift my pizzelle iron from its tattered and batter-scarred box, I am reminded of holidays past. Memories of my dear aunt rose float richly in the fragrance of these cookies. The season begins…
Pizzelle
3 1/2 cups flour
1/4 tsp kosher salt
1 Tbs + 1 tsp baking powder
4 eggs
2 egg yolks
1 1/2 cups granulated sugar
3 Tbs Anise flavored extract
4 oz unsalted butter–melted and cooled
Combine the flour, salt, and baking powder in a large bowl. In another bowl, whisk the eggs, yolks, sugar, extract and melted butter. Stir into the flour mixture. this batter will be nice and thick, similar to a pate a choux. Drop by the spoonful onto a hot pizzelle iron. Check after 60 seconds for color. You want it to be a light blonde in color. Do not undercook, undercooked pizzelle will not get nice and crispy. Sprinkle with a bit of powdered sugar and serve.
You can form these into cones or cups, or even cut in fourths while they are still warm.
I like to use them for large and beautiful ice cream sandwiches…or rolled and filled with a bit of brandy flavored whipped cream…but I mostly like them just as they are

Italian Fig Cookies {cucidati}
On December 14, 2015 by Christy LarsenTo be honest this is more of a st. joseph’s day treat than a christmas one but truth be told they are good any time of year. Be warned this is not a fig newton facsimile. These are spicy and heady; filled with riches wrapped in a buttery italian pastry called pasta frolla. My presentation isn’t typical either. These are typically rolled in a tube-shape and cut in sections. On a cookie tray I find them to stay fresher longer, when presented like this.
italian fig cookies
cucidati
pasta frolla
4 cups flour
2/3 cups granulated sugar
1 tsp baking powder
1 1/4 tsp kosher salt
1 cup unsalted butter–cold and cut into pieces
4 large eggs
1/2 tsp vanilla
using a food processor, pulse together the flour, sugar, baking powder, and salt a few times to ensure fully mixed. drop in the butter and pulse until the butter has incorporated completely turning the mixture into a powder. add the eggs and vanilla and continue to pulse until the dough forms a ball. remove and wrap in plastic wrap and place in the refrigerator for a few hours or overnight.
filling
12 oz dried figs (i use calimyrna)
1/2 cup currants or raisins
zest of 1 orange finely grated
1/3 cup blanched, slivered almonds–toasted
1/3 cup bittersweet chocolate–cut into pieces or chips
3 heaping Tablespoons apricot preserves
3 Tbs dark rum
1/2 tsp ground cinnamon
light pinch ground cloves
1/4 tsp ground nutmeg
egg beaten with a bit of water for egg wash
powdered sugar glaze or royal icing for decoration
sprinkles for decoration
If the figs are hard and dry, place them in a bowl of hot water to soften, drain and then proceed with recipe. Dice the figs and place in a bowl with the rest of the ingredients. Stir to fully incorporate. place the entire mixture in the food processor, fitted with steel blade and pulse until you have a paste. Place in the refrigerator until ready to use.
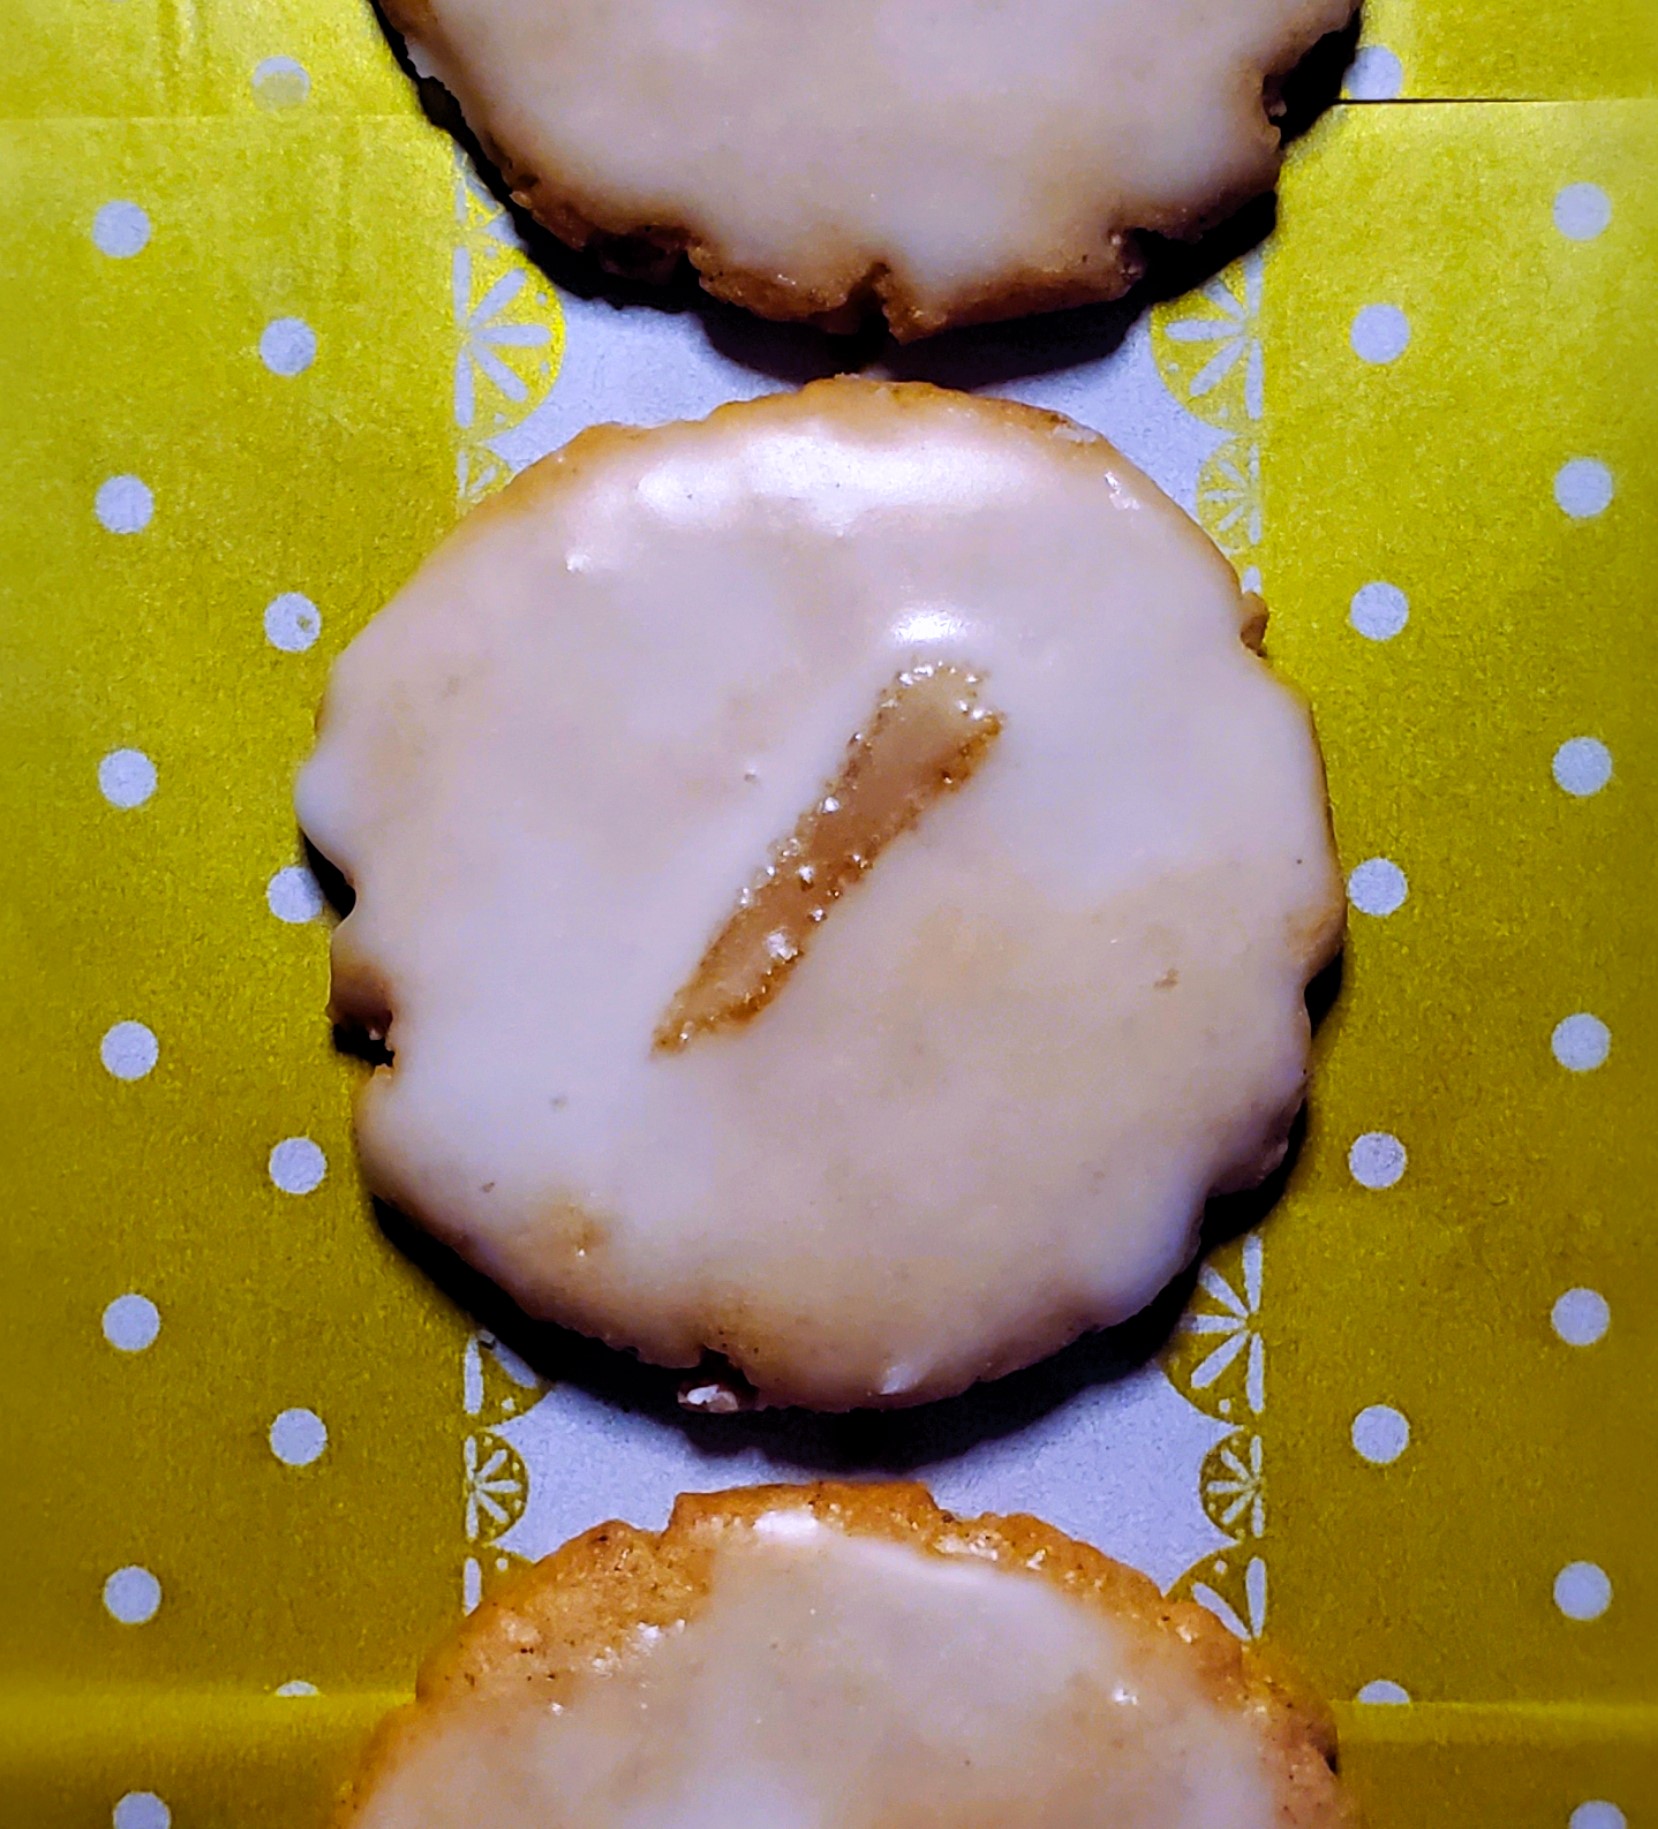
Roll the dough out to 1/4″ and cut with a small round, plain or scalloped cookie cutter. Place just a small bit of fig on top of half the cutouts. Brush a bit of egg wash with a brush on the outer edge of the dough. Place a second piece of dough on top and press with tines of fork or toothpick to seal. Brush top with egg wash. Bake at 350 for about 10 minutes. You have to watch to see that they don’t burn, you want them just starting to brown on the bottom. When cool, leave plain or drizzle a bit of powdered sugar glaze (powdered sugar and milk to a runny consistency), or royal icing and add a few sprinkles.
Warm Brie & Date Bites
On November 24, 2015 by Christy LarsenAt the first sign of frost and chill, I begin dreaming of kitchen comforts. I begin to categorize in my head all of the delicious things I will prepare, and the perfect gloaming light in which I will photograph them. Stews, braises, puddings, cakes, savory lamb shanks cooked under the most perfect crust with just the slightest untidy boil-over {meant to look homemade and charming, just shy of a mess} flash behind my eyes, like the world’s best slide show. I will tap the perfectly worn, turn of the century board from my vast selection of props, slide a piece of irish linen {just so} at the perfect angle and pose my dish as if it were Gigi Hadid on Capri.
That is always the plan. Bless my heart for having such a great imagination.
The reality is this. I’m dreaming of kitchen comforts, but I would gladly toss them aside for a kitchen cleaner. I’m positioning our meals between bottle feeding goats and mucking out chicken coops. I own beautiful dishes and linens and worn boards, but find myself opting for those pieces that are within reach in my tiny kitchen. And when I say in reach, I am being literal.
When we have company, I channel my imaginative moments. I {she said sheepishly} create a scene. A “why yes, we always have cocktails and warm truffled marcona almonds on the deck. Here, please stave the chill with one of these throws we keep tucked behind the bar for moments like this”scene. Maybe I don’t go that far…but I go pretty far. Why I do it, is not up for discussion. But how I do it is.
I keep it simple; putting together things that can hit more than one note, and can be mostly prepared in advance.
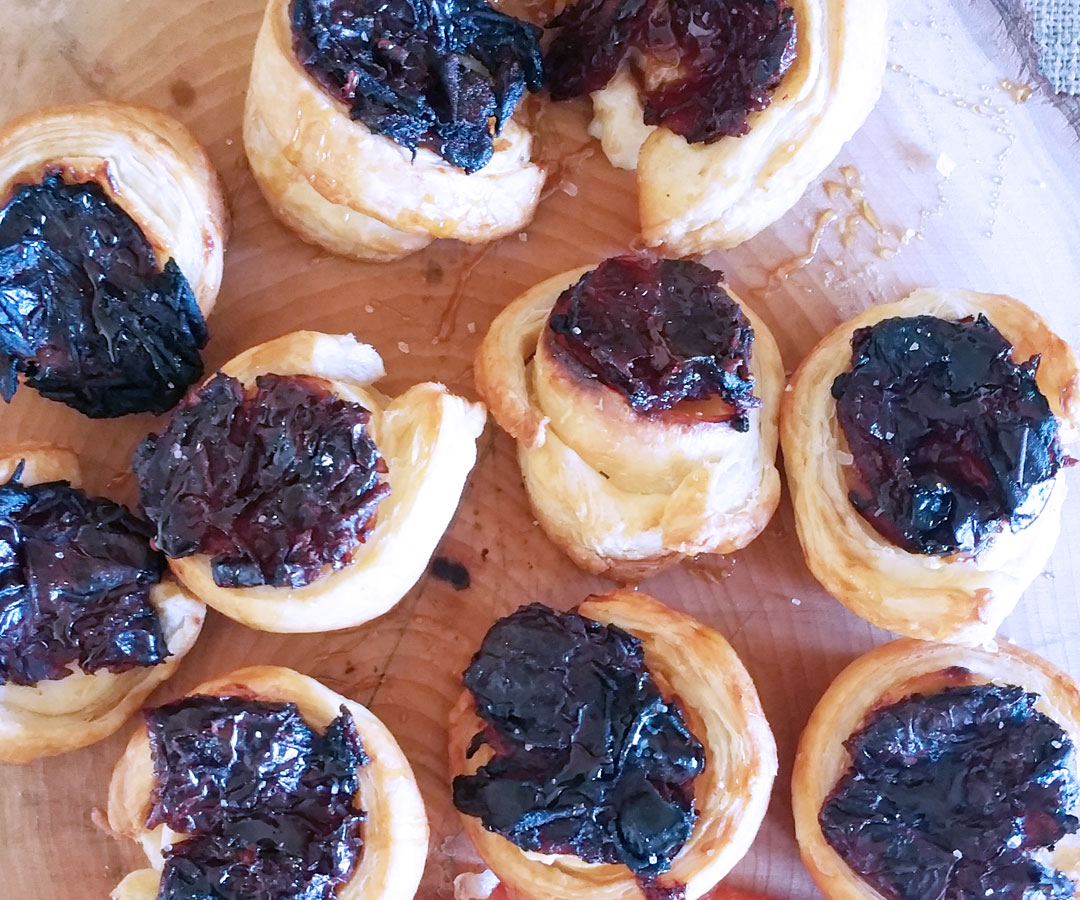
These warm brie & date bites are a wonderful treat that pairs well with champagne, bourbon neat, or mulled cider.
Warm Brie & Date Bites
10 mini brie rounds {i have found them at trader joes}
puff pastry; defrosted and chilled
water
10 large dried dates; pits removed
maldon salt {or your favorite sea salt}
honey
Slice the top off each brie round (it is best if they are cold for this step). Prepare a sheet pan by lining with parchment paper or a silpat. Using a cookie cutter, cut 10 rounds from the puff pastry that are only slightly larger than the brie. Using a knife, cut strips of puff pastry as wide as the brie bites are high. Using a pastry brush, one at a time, brush the 1 round and 1 strip with water. Place the brie on top of the round then wrap with the strip, making sure the ends meet or slightly overlap. Cup the brie in your hand to make sure the bottom is attached to the strip. Leave the open top exposed {the end without rind should be facing up}. Butterfly the pitted date and place, gooey side down, on top of the brie. Continue with remaining brie rounds. Place in refrigerator to chill for a minimum of 30 minutes.
At this point you can cover and keep in the refrigerator overnight.
When you are ready to bake, preheat oven to 400F. Space the bites with at least 1″ between them and bake until golden brown. Depending on your oven, this could be 15 minutes or it could be 30 minutes. Start checking on them at 15 minutes. When the pastry is puffed and golden brown, remove from oven. While still warm, drizzle with honey and sprinkle a bit of sea salt on each one. Serve warm or room temperature.
Bangers & Mash
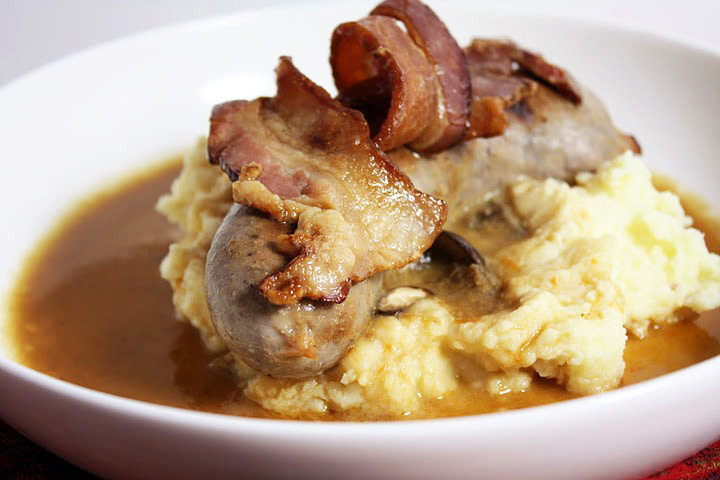
On November 10, 2015 by Christy LarsenSeveral years ago, Mike and I enjoyed a quick trip to London. My good friend Rebecca lives outside of London proper, but popped into the city to treat us to lunch at a fancy restaurant. In typical American fashion, we eschewed the fancy and ordered pub style lunch. And in typical British fashion, Rebecca didn’t flinch. I lived in London, which now seems a lifetime ago, for several years. I always ordered bangers and mash when found on a menu. Its one of those meals that everyone has a version of, and everyone’s mum made best. I always found the meal to be hearty, comforting, and delicious. My version here is an attempt to copy the version we had on our last visit to London.
Bangers and Mash
mushroom gravy
1 stalk celery–finely diced
1 carrot–finely diced
1 onion–finely diced
pinch salt
3 cups beef stock
1 bay leaf
3-4 sprigs parsley
2 sprigs thyme
2 oz unsalted butter-softened
3 Tbs flour
3 crimini mushooms–sliced
4 crimini mushrooms–diced
Cook the celery, carrot, and onion in a bit of olive oil until just softened. Add the beef stock all at once and stir. Toss in the sliced mushrooms, the bay leaf , the parsley and thyme. Cover and let simmer for at least 30 minutes but up to an hour. Strain. Return the liquid back to the pot. Mix together the butter and flour in a bowl. Add the warm stock, a bit at a time to the butter-flour mixture, whisking to make a smooth paste. Once you have a runny paste (much like toothpaste), whisk it into the broth until smooth. Toss in the diced mushrooms and simmer until it thickens and the mushrooms soften–about 10 minutes.
Bangers
4 bangers
4 thick cut bacon rashers
1/2 bottle lager
Put bangers and bacon in a sided saute pan. Pour in beer and simmer until the beer has completely evaporated. Add just a bit of olive oil and allow it to continue to cook until the bangers are cooked through. Your pan will get really dark and scary looking. Don’t worry…it won’t damage (fill the pan with water and slowly simmer on the stove, it will clean right up)
Mash
5 smallish yukon gold potatoes–peeled and halved
1/2 stick of unsalted butter–room temp
2 oz cream chese–room temp
milk
salt and pepper
Boil potatoes in salted water. drain and return to pot. Toss in butter and cream cheese and mash. Add enough milk to get your desired consistency. Once you add the milk, you have to be mindful. Do not whip and beat endlessly. If you do, you may end up with gummy mash–yuck. Better to have a lump or two. If you like silky mashed potatoes, run them through a ricer before adding butter and cream cheese. add salt and pepper to taste.
To Assemble
Place a generous portion of potatoes on your plate. top with the sausage and enough gravy to make you smile. Top with a rasher of bacon.
Fresh from the Field Pumpkin Pie
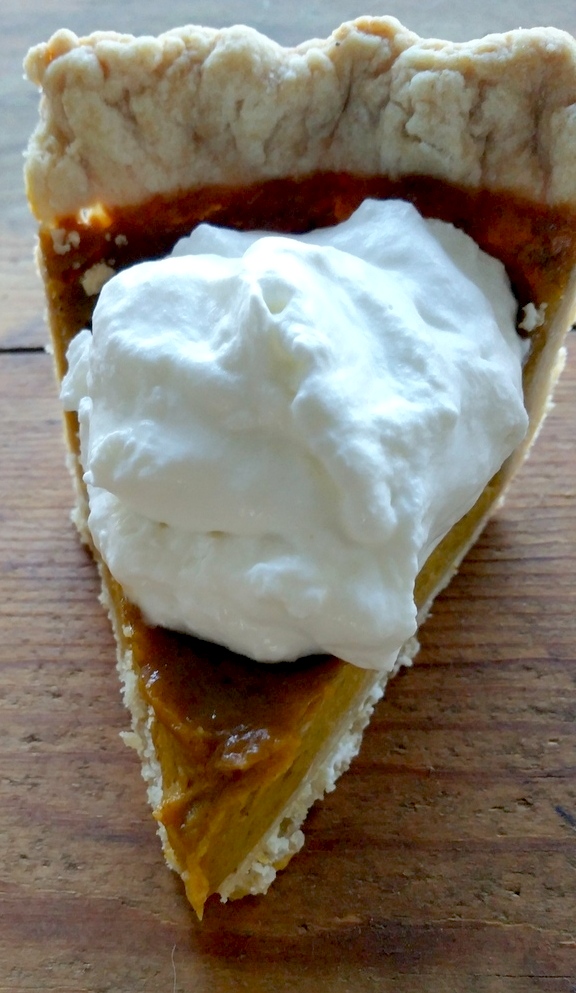
On November 3, 2015 by sixtyacrebakerPumpkin pie and I have made a bit of a journey together. Up until a decade or so ago, I used canned pumpkin and its accompanying recipe for my pie. It was good. Libby’s had a bit of a lock on the pumpkin pie market and deservedly so. Canned pumpkin, canned milk, sugar, eggs, spices. Easy as pie, right? It wasn’t until I started buying sugar pumpkins, at the farmer’s market, and subsequently growing my own,that I began making homemade pumpkin puree. The change has been slow, and deliberate. Moving from canned pumpkin to homegrown was a bit more daunting than ditching the canned milk. When we moved to the ranch we started growing some heirloom varieties of pumpkins. After a myriad of taste tests and bum to prove it, we’ve decided that the Jarrahdale pumpkin makes the best pie. Or should I say, my best pies are made with Jarrahdale pumpkins. The flesh is firm and a bit sweet after roasting and decidedly “pumpkinny”. When processed it is very smooth and makes an almost pudding like pie. Admittedly, they can be difficult to find..and this recipe works well with any (except jack-o-lantern type) pumpkins…but if you see one…grab it. They keep well, look eerie and taste amazing.
Pumpkin Pie
makes an 8 or 9 inch standard depth pie
1 recipe flaky pie crust (recipe follows)
2 cups fresh pumpkin puree (instructions follow)
2 whole large eggs
2 large egg yolks
1/2 cup whipping cream
3/4 cup dark brown sugar–gently packed (add a bit more if you like a sweeter pie
1/4 tsp salt
1 tsp cinnamon
1/2 tsp ground ginger
1/8 tsp ground cloves
1/8 tsp freshly ground nutmeg
1/8 tsp allspice
*note: you can add or eliminate any spices you wish. I only suggest that you don’t overdo the cinnamon. The flavor of fresh pumpkin is gentle, if you put too much cinnamon, you will kill the subtlety.
Preheat the oven to 375f.
Whisk all ingredients, except the eggs, together in a large bowl and taste for sweetness and spice. At this point you can add a bit more sugar (add 1 Tbs at a time) and spice. When you are happy with the flavor, whisk in the eggs and egg yolks and place the bowl in the refrigerator while you “blind bake” the crust. Be sure to bake only until the crust begins to look cooked, but not browned. You do not want to over bake, as you need to put it back in the oven once you fill with the pumpkin custard. Remove the crust from the oven, remove the weights and parchment paper, and immediately pour in the custard. Reduce the oven heat to 350f. Place the pie on a baking sheet and bake for approximately 40 minutes. It is important that you watch it. You do not want to overcook the custard. It is done if you tap the side of the pan and you get a slight jiggle/ripple in the middle of the pie (1 or 2″ from the center of the pie). Just as if you have skipped a small rock into a pond. If the ripple starts from the outer rim of the pie, it is not done. If it doesn’t ripple at all, pull it from the oven and get it on a cooling rack right away. Let cool at room temperature. Store in refrigerator.
Pie Crust
you can use a favorite recipe, or even a store bought crust (which simply isn’t as good, but I understand). This is a simple recipe that I use for a nice tasting and sturdy crust.
2 1/4 cups all purpose flour
3/4 tsp kosher salt
1 Tbs sugar
1/2 cup cold butter–cut into chunks
1/2 cup lard
5-6 Tbs of cold water + 1/2 tsp vinegar
In a large bowl mix together the dry ingredients. Add the butter and shortening all at once and “cut” into the pastry. I like to use my hands for this. I will work the mixture until the butter and shortening are incorporated into the flour in hazelnut size pieces. Add enough very cold water to bring the mixture together, but it should not be sticky. It should also not be dry. Handle the dough as minimally as possible, wrap in plastic wrap and refrigerate for at least 1 hour or overnight. If you are making the pastry well in advance (more than a day), I suggest wrapping it and freezing it. Raw dough will turn gray after a time in the refrigerator.
Fresh Pumpkin Puree
Do not use a pumpkin that you would use for carving. They can be stringy and don’t carry the flavor of sugar or (in this case) the jarrahdale pumpkin. Wash the pumpkin well, cut in half and remove all the seeds and stringy bits. Reserve the seeds and roast them for a treat. Place the pumpkins, cut side down on a lined baking sheet and place in a 350f oven until they are very soft. Let cool, remove skin run through a ricer, food mill, or immersion blender. For a silky smooth texture, process the “meat” of the pumpkin until it is no longer lumpy. I use a hand blender which works perfectly, but you can use a processor as well. Place puree in a cheese cloth lined colander and let drain 6 hours or overnight. You will need 2 cups for the pie recipe, but your pumpkin might yield more. You can freeze the extra at this point.
Blueberry Grapefruit Jam
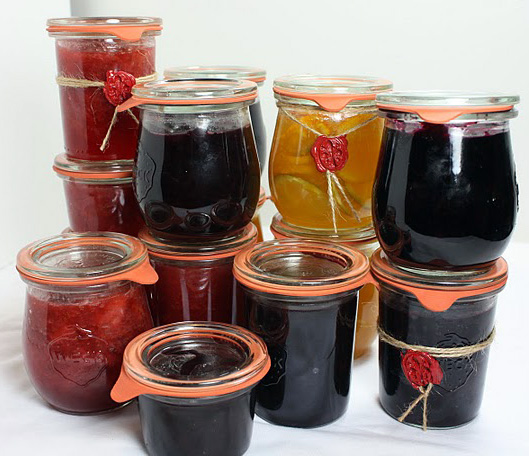
On October 8, 2015 by sixtyacrebakerI have a freezer full of summer fruits; gathered in their peak and frozen to preserve freshness. It is my own secret garden. This jam combines the summer goodness blueberries hold, with beautiful winter grapefruit. I love it spooned onto toast, but I also have been using it as topping for cheesecake, filling for my homemade pop tarts,and as a delicious swirl in my morning yogurt.
blueberry grapefruit jam
1 tsp grated fresh ginger
2 grapefruits–flesh only
12 cups blueberries–fresh or frozen
1 tsp cardamom
generous pinch salt
3 cups sugar
1 pouch pectin
Slightly mash the blueberries and place in a heavy pot. Add the sugar, salt, ginger, grapefruit segments and an juice you can capture, and cardamom. Bring to a boil, reduce heat and let simmer about 5 minutes. Increase heat and bring to a boil. Stir in the pectin and boil for a full 60 seconds. Turn off heat and place in sterilized jars. Process for long term storage. Use the ball canning guide for time and process </s[an>
Every Day Crumb Cake
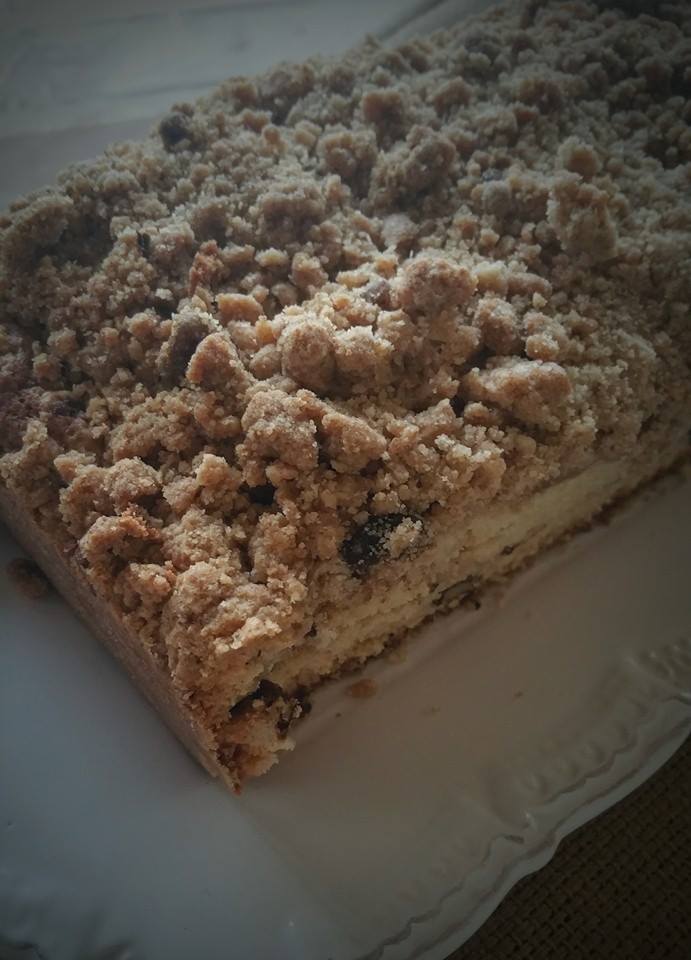
On October 4, 2015 by sixtyacrebakerI prefer a piece coffee cake to birthday cake because it has to rely on itself to be good. It doesn’t have some kind of amazing mocha-buttercream frosting to make it moist
or big red roses with that funny but somehow pleasing taste. Also, it really does taste great with coffee or a mug of tea. It reminds me of my grandparents who insisted on having coffee and cake
while playing gin and smoking cigarettes on our back porch during the warm summer nights. My. entire. childhood. It was magic.
Big Ginormous Coffee Cake
(adapted from Nancy Silverton’s La Brea Bakery Cookbook)
Streusel
1 cup toasted walnuts
1/4 cup granulated sugar
1/4 cup dark brown sugar
1/2 cup flour
1 tsp cinnamon
1/4 cup softened butter
Sprinkling Sugar Layer
1 Tbs granulated sugar
1 tsp cinnamon
1/4 cup toasted walnuts
Batter
8 oz unsalted butter–room temperature
1 3/4 tsp baking soda
2 tsp baking powder
2 tsp kosher salt
2 1/2 cups granulated sugar
3 extra-large eggs
1 1/2 tsp vanilla
4 cups flour
2 cups sour cream
For the struesel: Mix in a bowl all ingredients except the nuts. Mix until it becomes a bit lumpy then toss together with nuts. Set aside
For the Batter: Cream the butter, baking soda, baking powder and salt on low until softened and mixed together. Add sugar and mix until light and fluffy. Mix together the eggs and vanilla in a bowl. Alternately add to the sugar and butter the eggs and the flour, beginning and ending with the flour. Stir until just incorporated, do not over-beat. Stir in the sour cream.
Line the bottom of a tube pan with baking paper, spray with pan spray being sure to hit the inner tube well. Spoon half of the batter in the pan and spread to create an even layer. Sprinkle the cinnamon sugar mix over on top of the batter. Drop the nuts on top and press a bit to get them into the batter. Spread remaining batter evenly on top and then cover with the streusel mixture.
Bake in a preheated 350 oven until firm to the touch and a toothpick inserted in the center comes out clean.
It will take more than an hour.

Reflection
On July 9, 2015 by sixtyacrebakerLiving on a farm is very different today than the days of the dust bowl and laura ingalls. If our crops don’t grow, we make a trip to the market; we won’t starve. We can easily maneuver with plan b or even c. A bad year or two means discomfort, rather than a major threat. It doesn’t mean it isn’t difficult and that we don’t experience disappointment. Today I found myself willing our girls to kid, while at the same time, dreading it.
This year we are heavy in male kids…understatement of the year. 15 kids..1 girl. One. While it is insane to think so, I torture myself with the belief, that I must be doing something wrong. I scour the internet, late at night, looking for wives tales, anecdotes, charms and voodoo to turn the tide. I am humbled by the inability to control and impossible quest to prepare. I’m also kinda sorta pissed off.
It legitimately “is what it is”. If I had any working knowledge of genetics or statistics, I’m not sure if I would be more or less optimistic.
At the end of the day, without girls we don’t grow our herd. Until we grow our herd, there is no creamery.
This life we chose has its own timeline. It stalls and propels me in an uncomfortable manner. Goals aren’t set and ticked by sheer force of will. This force of nature is real and strong and can not be dismissed. She is making herself known and all I can do is sit back and see what is next.
And while they are mostly males, only an ass would complain, rather than well with joy, finding a nursery filled with healthy little kids.


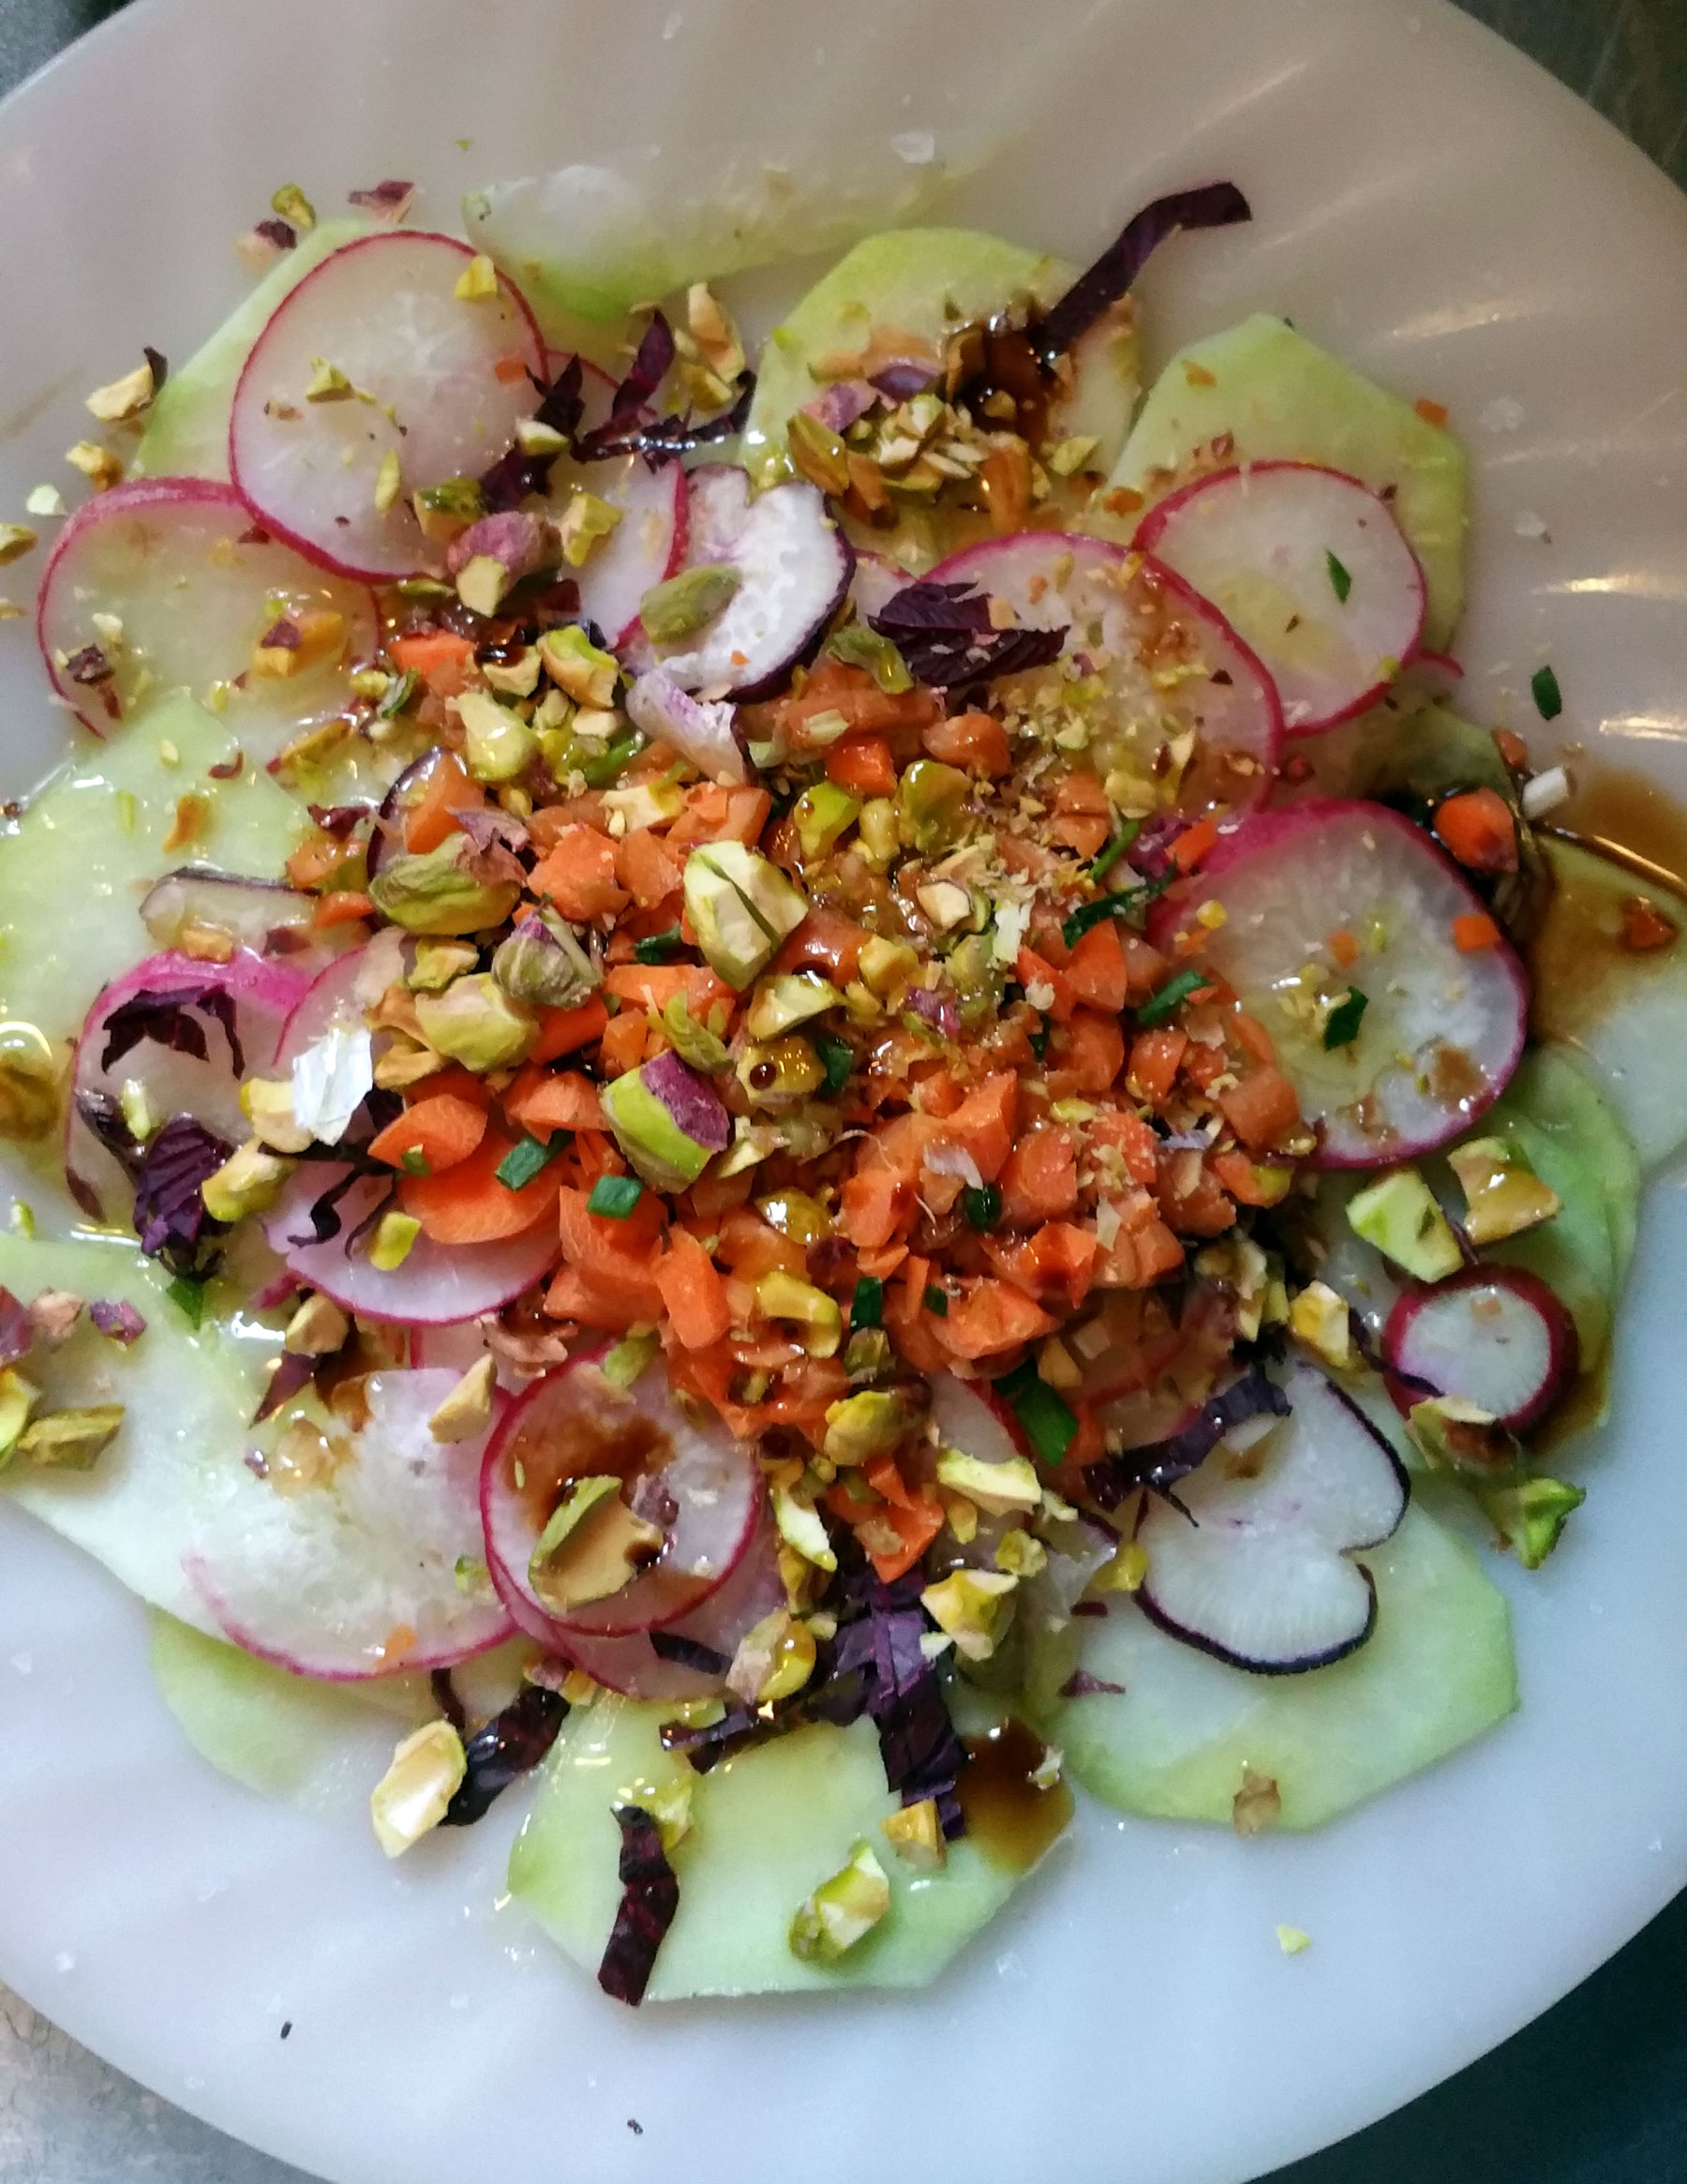
Kohlrabi Crunch Salad
On May 15, 2015 by sixtyacrebakerWe have a lot of kohlrabi in our garden this spring. I am trying to remember to replant each time I pull one from its bed. I think kohlrabi looks like it tastes bad. Let me finish… It doesn’t look tasty. It looks other-worldly and not in a good way. To me, that is. To me, it looks like eating it could be punishment. Which is exactly why, we are taught not to “judge a book by its cover” Kohlrabi just might be one of the most versatile and delicious vegetables in the garden. Raw, it tastes a bit like a tender stem of broccoli. It doesn’t have a bite to it at all, it is quite sweet. I like to slice it very thin with a knife…I only pull the mandolin out for big jobs…and pair with other tasty treats from the garden. For this composed salad, I went with goodies that are just beginning to pop up in my spring garden. The secret is to use what you have on hand…but stick with the single texture of crisp. This salad is meant to be eaten chilled.
Kohlrabi Crunch Salad
2 servings
1 kholrabi bulb; peeled and thinly sliced
3-4 radish; thinly sliced
1 small carrot; finely diced
1 green onion, finely diced
4-5 tender amaranth leaves (i know that these are not easily accessible. substitute fresh mint, fresh basil, or any colorful and flavorful tender lettuce leaves); tear or chiffonade
10-12 pistachio nuts; crudely chopped
sea salt
black pepper
olive oil
aged balsamic vinegar (can substitute regular or any sweet vinegar you may have on hand)
Arrange kohlrabi and radish on platter. Mix the carrot and green onion together and place on top of the kohlrabi/radish layers. Sprinkle amaranth (or chosen herb) around salad. Do the same with pistachio nuts. Sprinkle a bit of sea salt on top. Cover and chill until ready to serve. Just before serving. Drizzle with a mild to medium spiced olive oil and then add your sweet vinegar sparingly. Finish with a bit more sea salt
