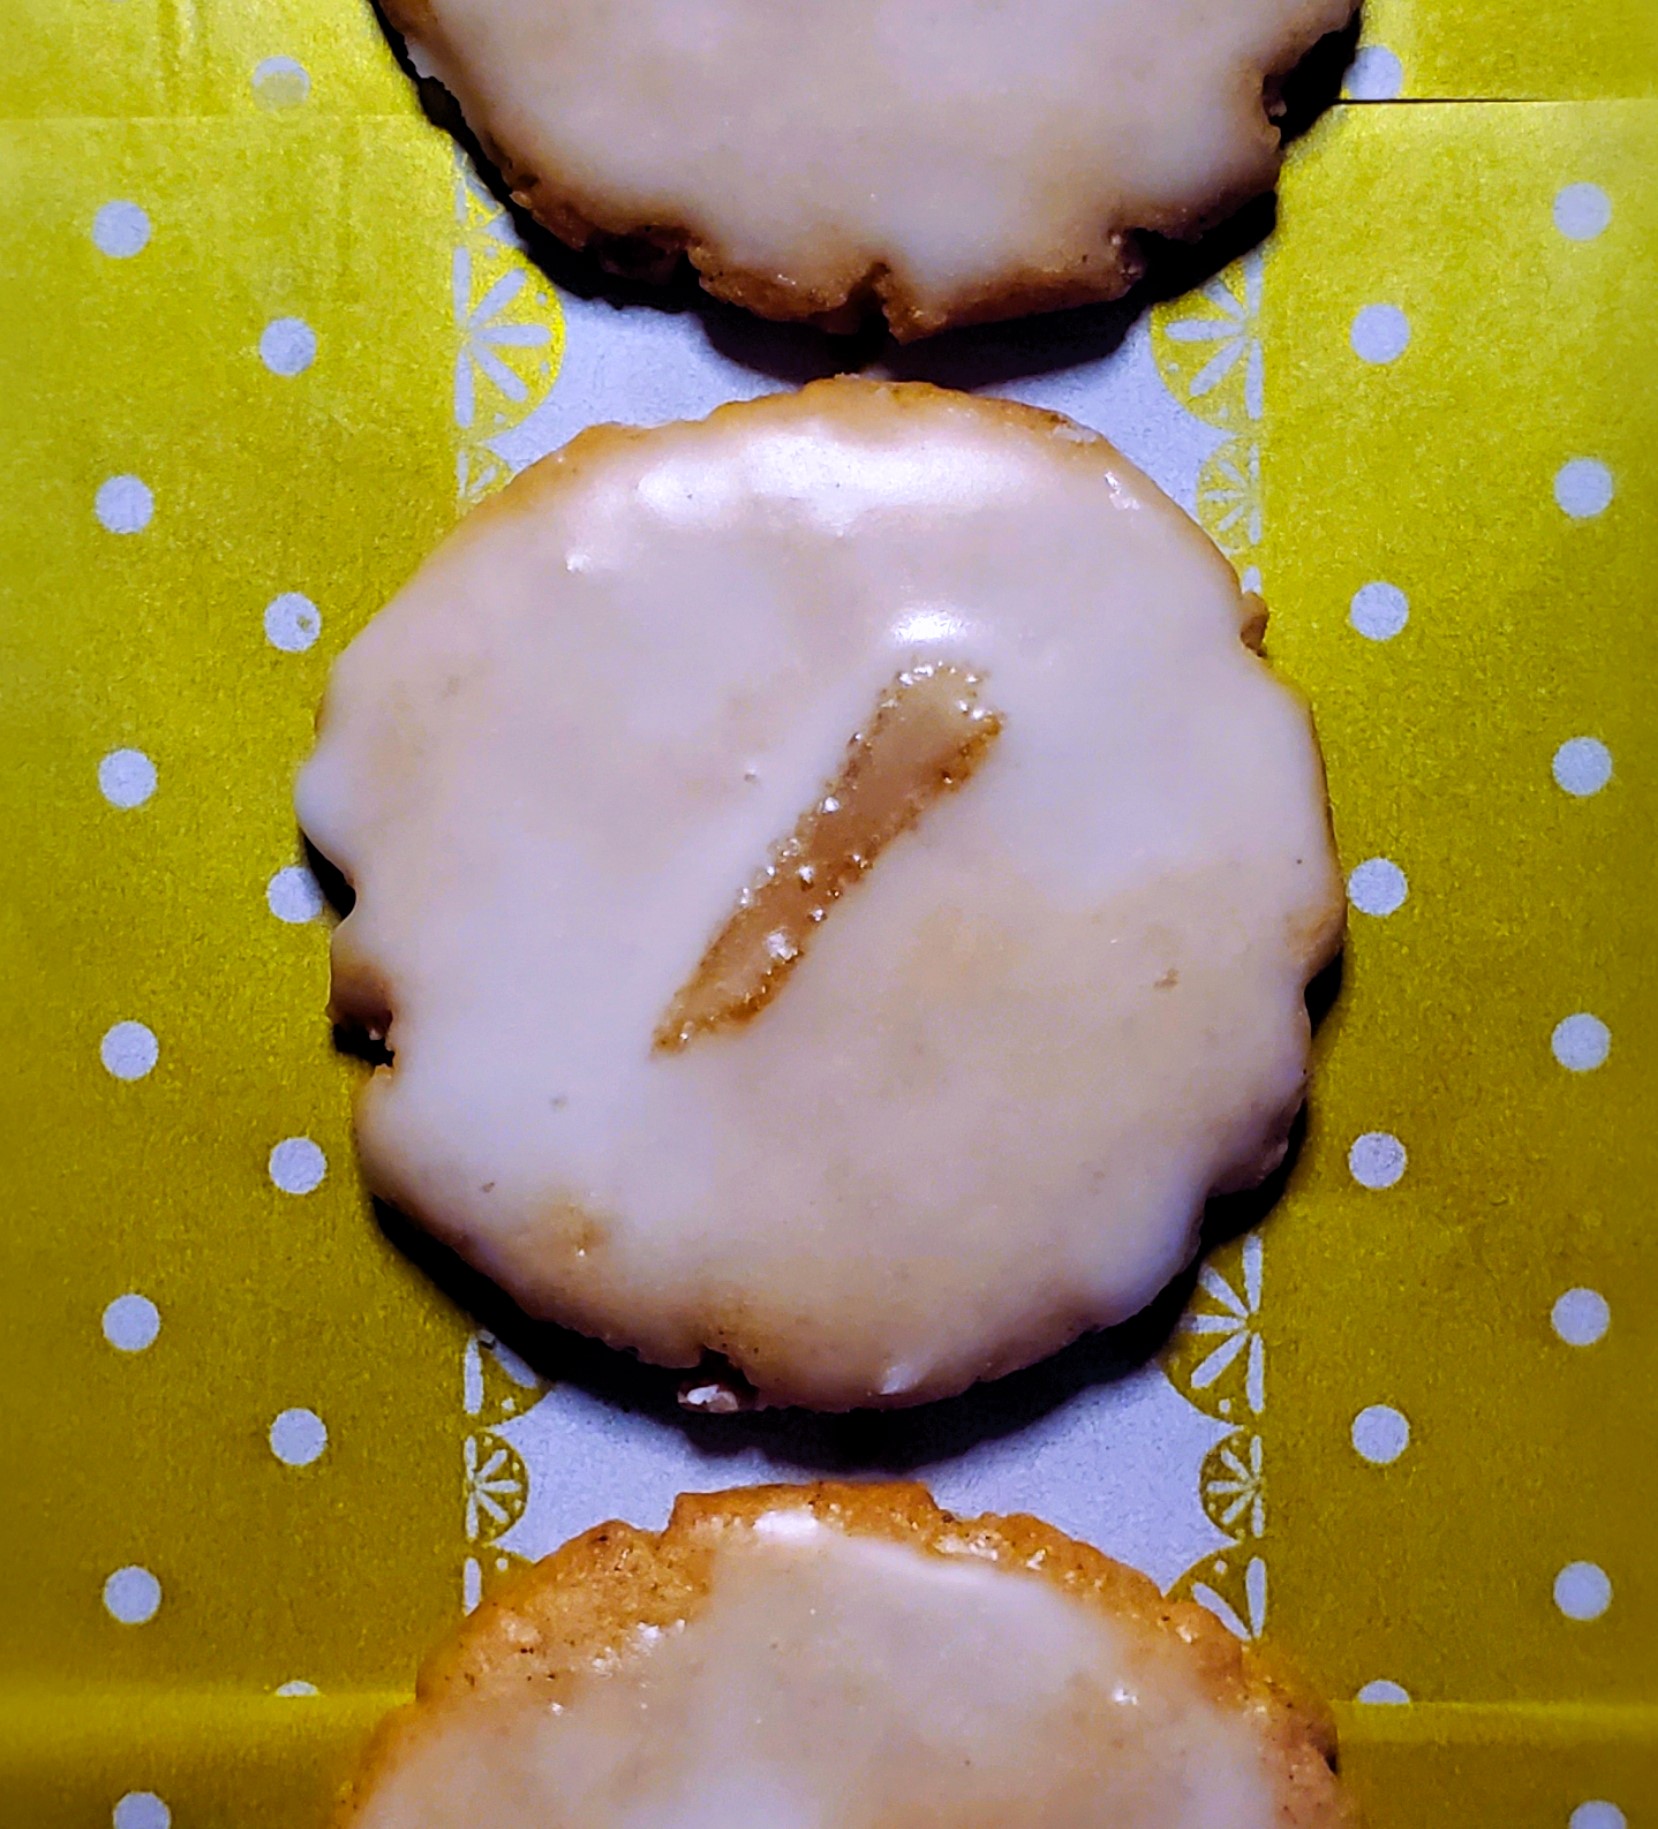
Lemon Glazed Gingersnaps
On November 21, 2024 by Christy LarsenCladia Fleming’s recipe with a little update by me
My first edition of “The Last Course” by Claudia Fleming is well-used and slightly abused. The pages are spattered and worn, and the entire book looks older than its 20 years. It is a great book; if you can find it, I suggest you grab a copy.
These little cookies are delicious, just as Claudia imagined them. As one does, I am giving them a holiday gild. The glaze gives them a few extra days of “freshness” and a distinct citrus punch. Drop them onto your holiday cookie platter, gift them with your favorite tea blend, or drop a few in your glove box for any cookie-related emergency.
Gingersnaps
1 3/4 cups firmly packed dark brown sugar
1 1/2 cups unsalted butter-softened
1 large egg
1 Tbs grated (peeled) fresh ginger
1 1/2 tsp lemon zest
3 3/4 cups all-purpose flour
2 Tbs ground ginger
1 Tbs ground cinnamon
1 1/4 tsp baking powder
1/2 tsp ground white pepper
1/4 tsp ground cloves
1/2 tsp kosher salt
Beat sugar and butter until smooth. Add egg, fresh ginger, and lemon zest and beat well. In a bowl, whisk together flour, ground ginger, cinnamon, baking powder, white pepper, cloves, and salt. Beat until well combined. Form into a large disk, wrap in plastic wrap, and chill for at least 4 hours or overnight.
Preheat oven to 350F. Scoop out 1 tsp of dough at a time and roll between palms. Flatten with the base of drinking glass dipped in flour. Bake 8-10 minutes until crisp or browned. Let cool completely before glazing
Lemon Glaze
2 cups powdered sugar
1 Tbs agar agar
1 Tbs lemon zest
1 Tbs lemon juice
candied ginger, slivered for decoration
Place sugar in a bowl, add the agar agar and lemon zest. Slowly add the lemon juice until you get to your desired consistency. If additional liquid is needed, use cream or water (your choice). If you make it too thin, add more powdered sugar. Dip each cookie into the glaze, add a tiny sliver of candied ginger, and let sit at room temperature until the glaze is set. Store in an airtight container at room temperature.
*if you make ahead, you can bake and freeze the cookies without glazing. Defrost and glaze.
**If you want to be very clever, sandwich a bit of ice cream between a glaze and an unglazed cookie and act like it “was nothing.”
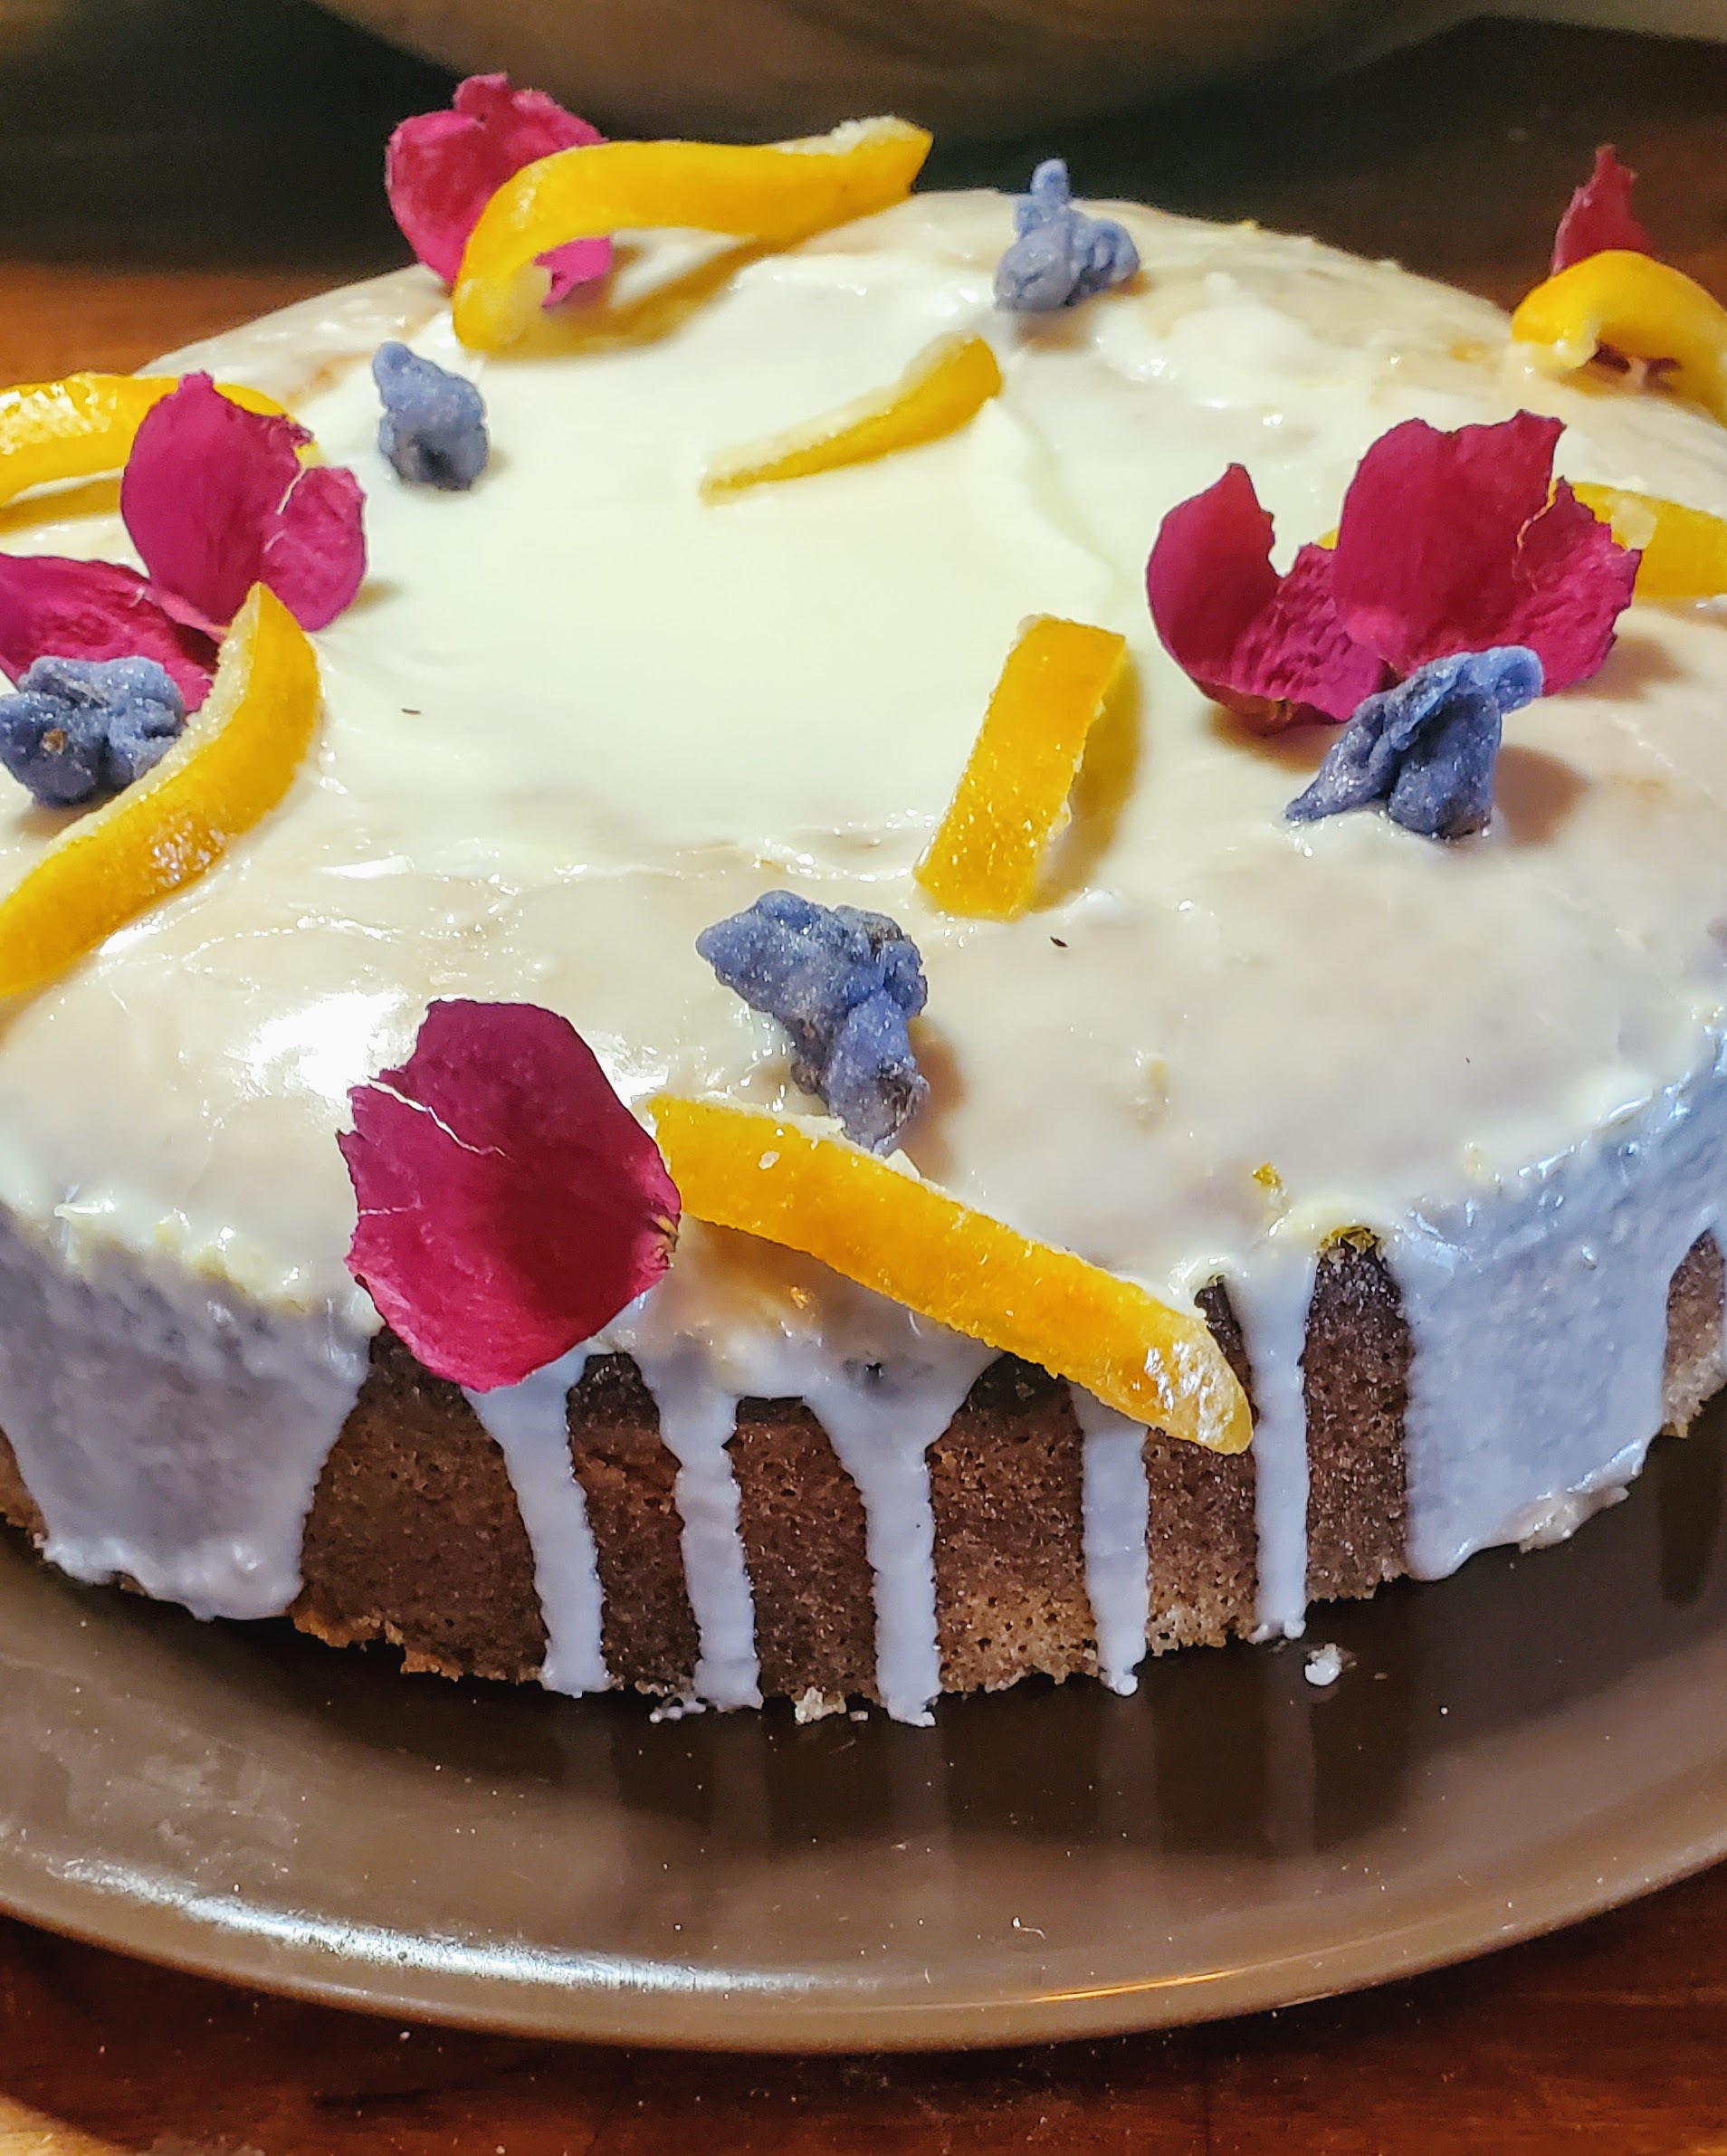
Olive Oil & Limoncello Cake
On March 22, 2022 by Christy LarsenWhen I have guests over for a meal or celebration, I am cognizant of dietary desires and restrictions. I don’t specifically design the menu around the issue, but I always make sure there are dishes served that everyone can enjoy. Dessert can be problematic, which is why I love an olive oil cake. While it doesn’t work for everyone, it is great for those with a dairy allergy. It is my go-to when I am trying to please a crowd. Best part; it can look festive and celebratory without being an elaborate layer cake. Single-layer cakes are my best friend.
Don’t let the additional components of a sop and icing deter you from trying this cake. It is a delicious addition to any celebration, or a mid-week tea and cake sesh. The addition of Limoncello (or any citrus cello) gives it a bit of an adult edge and sophistication.
for the cake:
3 extra-large eggs
1 cup + 2 Tbs granulated sugar
1 tsp kosher salt
1 Tbs lemon zest
1 1/4 cup olive oil (the less bitter, the better)
2 cups all-purpose flour; sifted
1/3 cup fine cornmeal
2 tsp baking powder
1/2 tsp baking soda
6 Tbs fresh lemon juice*
3 Tbs limoncello (or any citrus-cello)
2 tsp vanilla extract
*depending on the flavor profile you desire, you can substitute orange, grapefruit or lime (or a mixture) for the juice. Lemon packs the most punch, but you can play around. Make sure whatever you use compliments the liquor (lemon or citrus-cello).
Prepare your 9” springform cake pan by spraying with pan spray, lining the bottom with parchment, then spraying with pan spray again. Dust with granulated sugar; tapping out the excess. Preheat oven to 350.
In a stand mixer fitted with whisk attachment, beat eggs, sugar, salt, and lemon zest until they are pale yellow and reach ribbon stage (about 3-5 minutes). While whisking, slowly pour in olive oil. Whisk on medium/medium-high for another 2-3 minutes.
Meanwhile, whisk sifted flour, cornmeal, baking powder, and baking soda in a separate bowl. Measure the lemon juice, limoncello, and vanilla extract together.
With the mixer on low, alternate adding the dry ingredients (flour, cornmeal, etc) with the wet (lemon juice, limoncello, etc) beginning and ending with dry. Take care to not overmix
Pour into prepared pan and bake for approximately 50-60 minutes. It may take less, it may take more. I make a habit of checking after 45 minutes. It will brown a bit because of the sugar lining the pan; use a tester to make sure it is fully baked before removing it from the oven. The cake should be just firm to the touch.
While the cake is baking, make the sop syrup
for the sop syrup:
1/4 cup lemon juice (or other if you are changing it up)
1/2 cup granulated sugar
2 Tbs olive oil
Simmer the lemon juice and sugar over low heat until it starts to thicken to the consistency of cough syrup. Remove from heat and allow it to cool slightly. Pour 3 Tbs into a separate bowl and add the olive oil. Set aside the remaining to use in the icing. Pour the syrup/olive oil mixture evenly over the cake immediately after removing from the oven.
Make icing while the cake cools
for the icing
1 1/2-2 cups powdered sugar
1 Tbs agar-agar (optional)**
remaining sop syrup
limoncello
cream or water (if going dairy free)
**using agar-agar helps the icing firm up quicker than if you do not add it. It is an old doughnut shop trick. Be careful as sometimes it firms up so quickly that you can’t get your decorations on fast enough! Agar-agar is derived from algae and can be an allergen for some.
Stir the powdered sugar and agar-agar until fully incorporated. Add the remaining sop syrup. Use limoncello and cream (or water) to create desired consistency. Pour over slightly warm (for a less opaque glaze) or cooled (for thicker and more opaque icing) cake allowing it to over the sides. Decorate as desired.
The cake pictured is decorated with dried rose petals, candied orange peel, and candied violets.
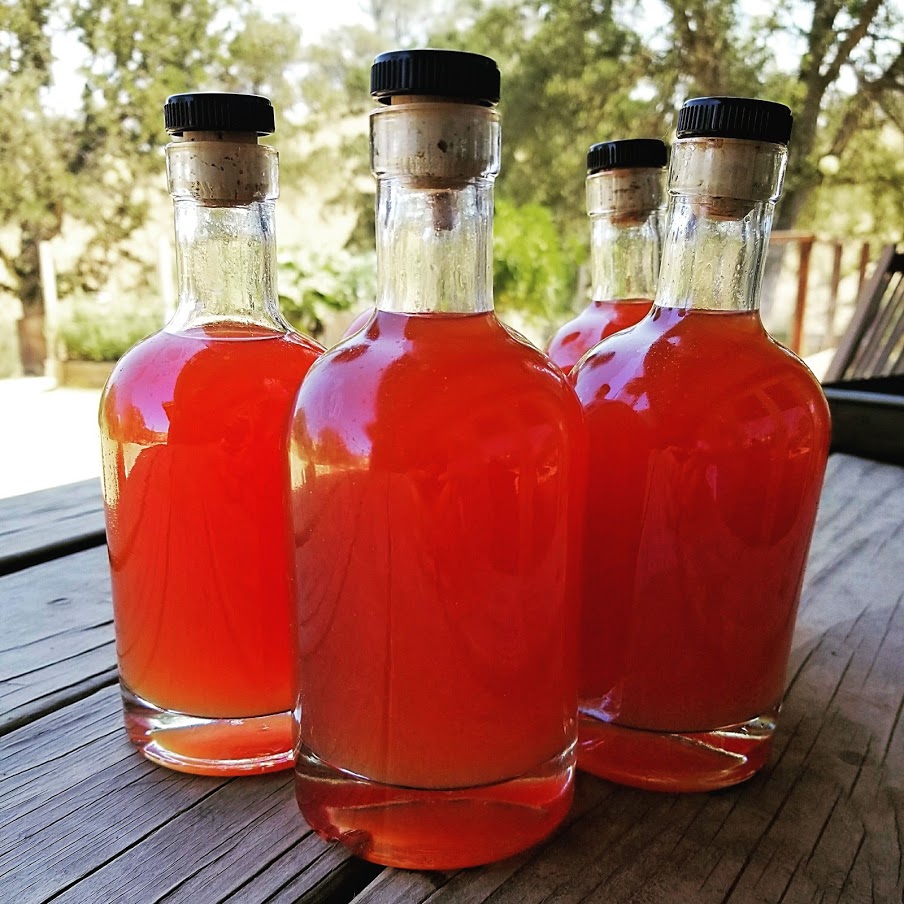
Citrus-Cello
On July 5, 2018 by Christy LarsenI always have a citrus-cello project in the works. It is the final resting place for all the excess citrus that we grow and gather. I currently have a limoncello & arancello in the works. Limoncello is an Italian digestivo, that is most popular on the Island of Capri…but can be found all over Italy, and now the States as well. Arancello isn’t quite as popular, nor is it as authentic, but I love it anyway. It is a delicious liqueur and has many uses beyond drinking. I, for example, toss it into my homemade jam just before canning and often use it as a soak for my olive oil cake. Although making this takes passive time, it’s really easy…and makes a wonderful gift. Start now for the holidays.
You need lots of fruit–use lemons, blood oranges, mandarins, grapefruit, whatever you have on hand. We mostly use the peel, but will also need to juice the fruit and store it for later.
Waste not, want not; so here are some ideas for the rest of the lemon:
Cut in half, pour some salt on it and tame your elbows (Barbra Streisand does it and so should we).
Juice the lemons and make the required sugar syrup in advance (but keep it in the freezer, so it doesn’t get weird).
Make lemon curd…better yet, make lemon chicken…ooh what about lemon bars? Those are my fave.
Back to the recipe. Wash and dry about 10-15 lemons {or fruit of choice}. The lemons should be unwaxed. Remove the peels. Now, this is very important…you do not want the pith. That is the white stuff that hugs the peel like a preschooler hugs his mom on the first day of school. Remove it all…you only want the yellow part. The pith is bitter and is not good for your end result. Place all the peels in a large glass or ceramic jar with a tight-fitting lid. Pour 1 bottle of vodka or grain alcohol over it. You do not need expensive vodka for this, you want the alcohol content, but the theory is that you will be changing the flavor of it, so don’t break the bank on this one.
Put the top on the jar, date it, and put it away in a cool dark place for a minimum of 2 weeks but as long as 3 or 4 months. I tend to steep mine for a long time; mostly because I forget.
When you see that all of the lemon peels have lost their color and/or it’s been at least 2 weeks you can move onto the next step.
In a heavy saucepan place 3 cups of water, 1/2 cup of strained lemon juice, 3 cups sugar and 3 Tbs honey. Boil over low heat until the sugar is completely dissolved and the mixture is clear. Don’t let it go too long and get thick and gooey. Let cool.
Pour the syrup into your glass jar with the lemon peels and vodka. Cover and let steep for another week (or longer if you have the time). When you are ready to bottle your limoncello, strain the liquid using cheesecloth or fine sieve. Squeeze all that you can from the peels and then throw away (or roll in sugar and dehydrate for a sweet and boozy garnish). Bottle the liquid in clean jars and seal tightly.
Like revenge, this is best served cold…store it in the freezer.
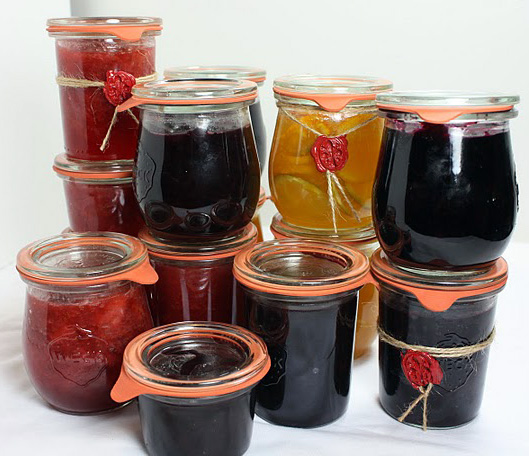
Blueberry Grapefruit Jam
On October 8, 2015 by sixtyacrebakerI have a freezer full of summer fruits; gathered in their peak and frozen to preserve freshness. It is my own secret garden. This jam combines the summer goodness blueberries hold, with beautiful winter grapefruit. I love it spooned onto toast, but I also have been using it as topping for cheesecake, filling for my homemade pop tarts,and as a delicious swirl in my morning yogurt.
blueberry grapefruit jam
1 tsp grated fresh ginger
2 grapefruits–flesh only
12 cups blueberries–fresh or frozen
1 tsp cardamom
generous pinch salt
3 cups sugar
1 pouch pectin
Slightly mash the blueberries and place in a heavy pot. Add the sugar, salt, ginger, grapefruit segments and an juice you can capture, and cardamom. Bring to a boil, reduce heat and let simmer about 5 minutes. Increase heat and bring to a boil. Stir in the pectin and boil for a full 60 seconds. Turn off heat and place in sterilized jars. Process for long term storage. Use the ball canning guide for time and process </s[an>
Lemon Curd
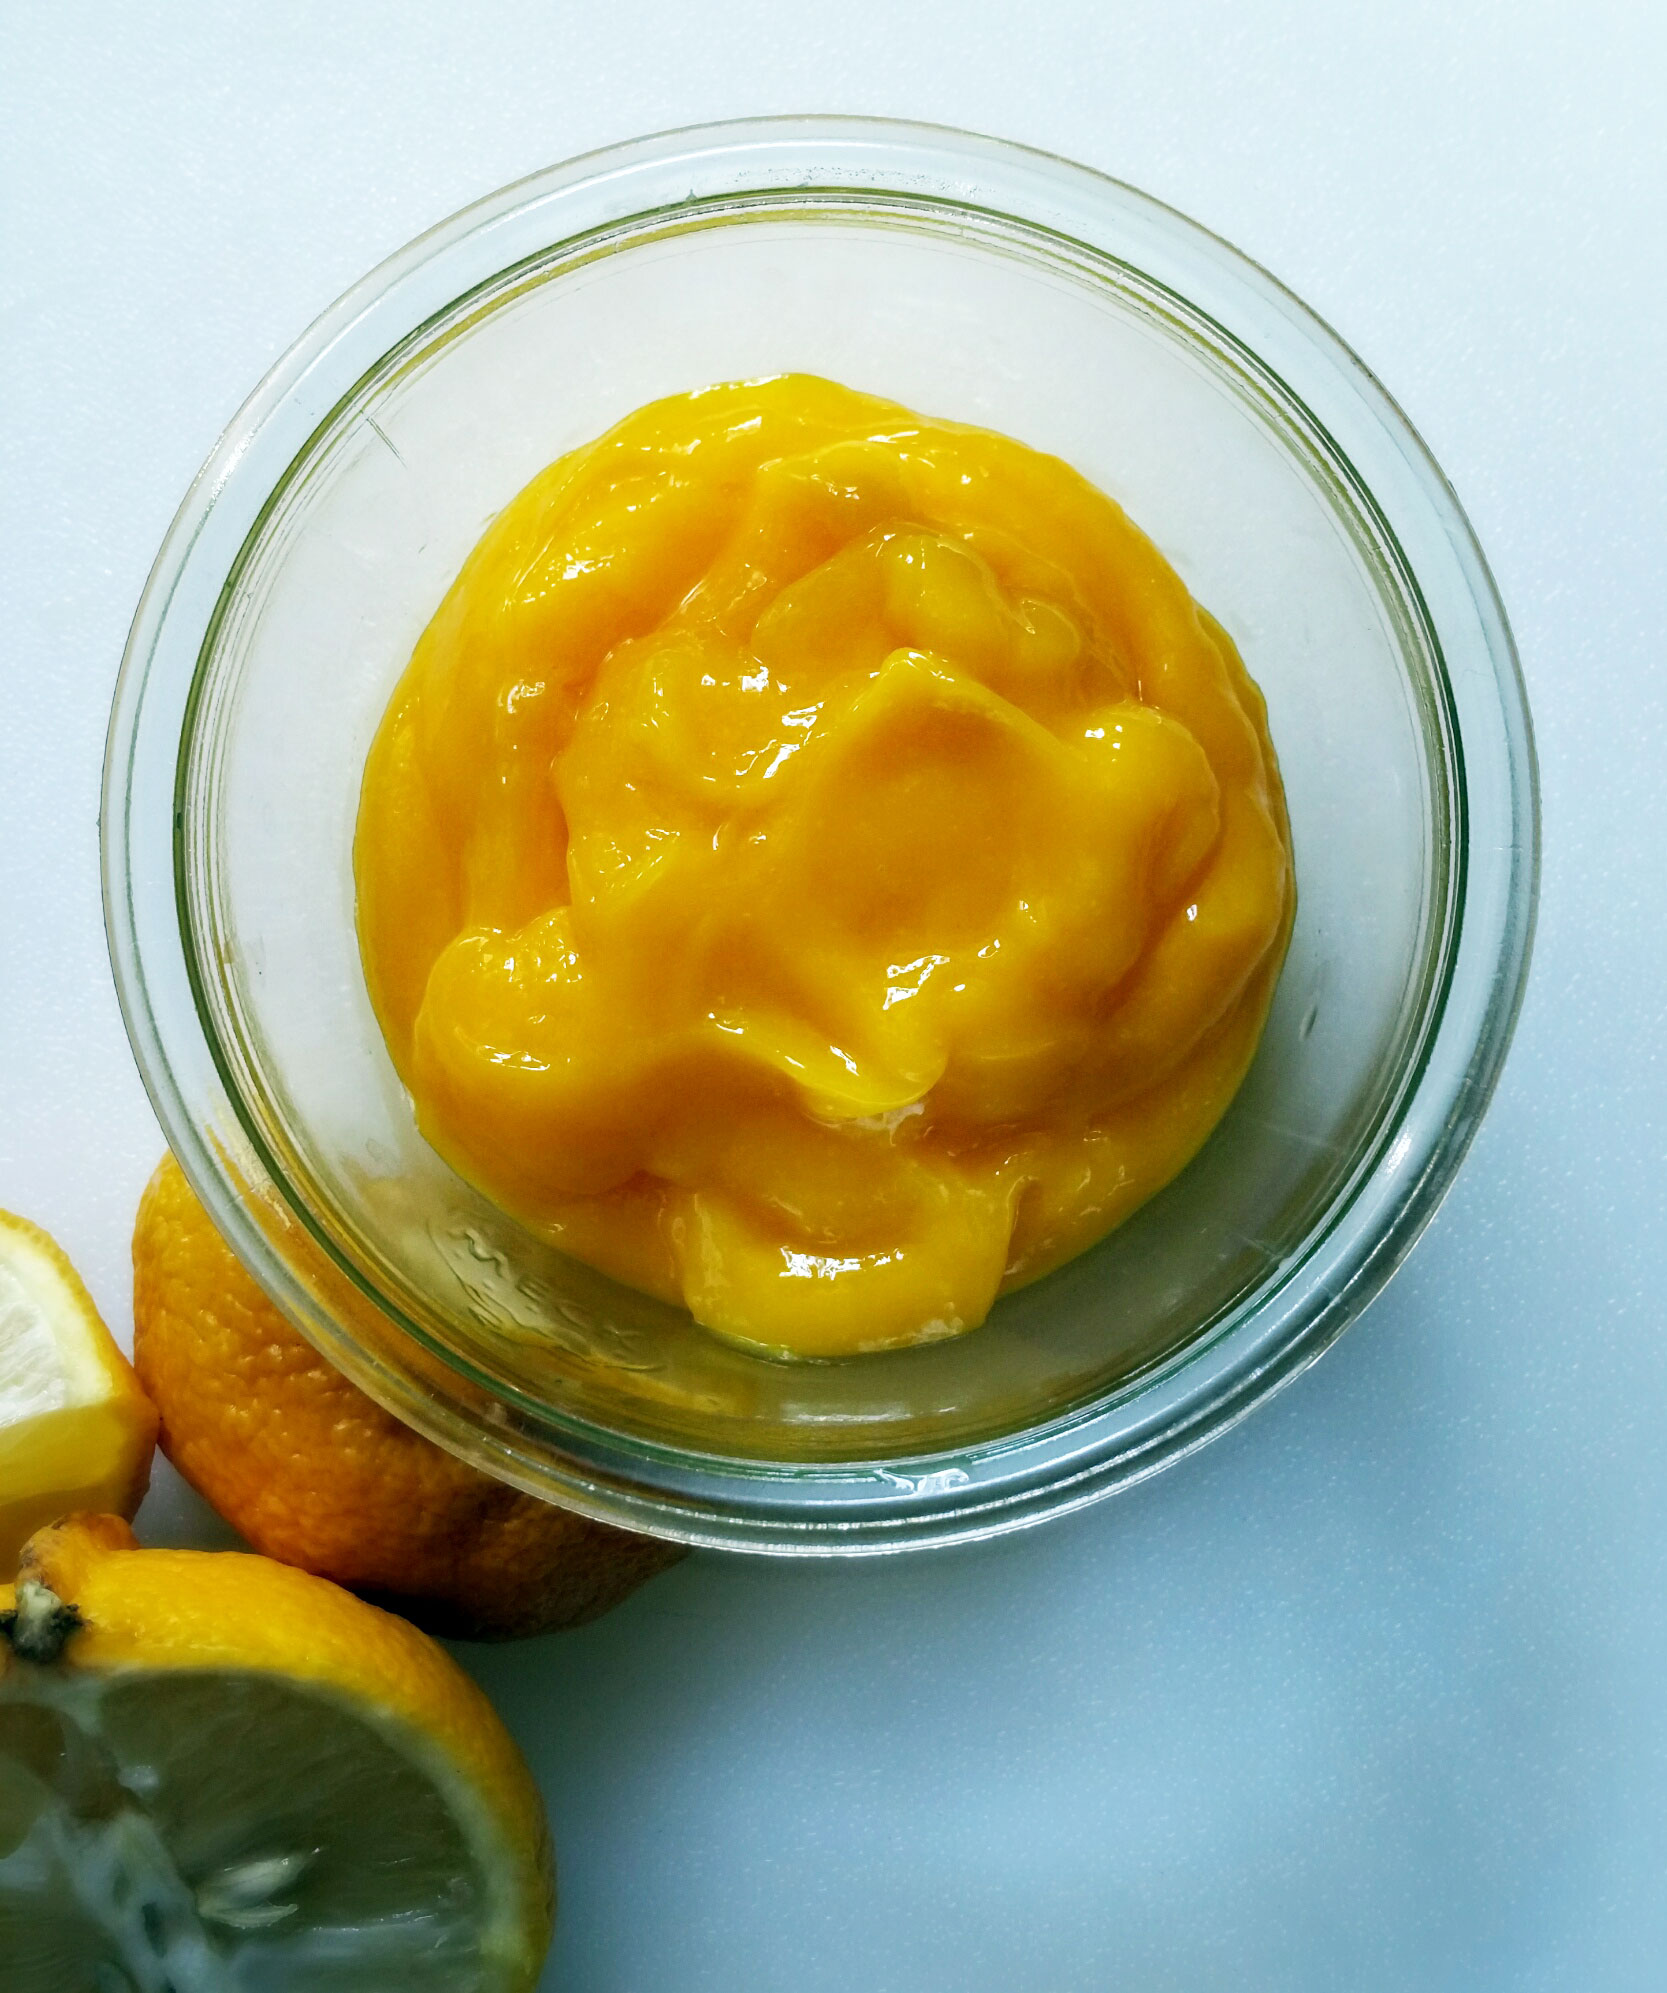
On March 30, 2015 by sixtyacrebakerI have been waxing lyrical about lemon curd for days. Finally, the desire had become so overwhelming, I took matters into my own hand. It was time. My counter top had become over-run with duck eggs, a basket of lemons was prepping for it siren song to the fruit fly migration, and I can only stand the thoughts in my head for so long. The hue of this curd is overwhelmingly beautiful and true. It is a foreshadow to the bright treat I love so much.
Lemon Curd
makes approx 3 1/2 cups
8 extra large egg yolks
1 cup granulated sugar
3/4-1 cup fresh lemon juice*
1 Tbs lemon zest
pinch kosher salt
1/2 cup unsalted butter-cut into pieces
Place the butter in a glass or ceramic bowl and set aside. Place egg yolks, sugar, lemon juice, lemon zest and salt in a med/large saucepan or high sided saute pan. Whisk to fully incorporate all ingredients. Place over low heat and stir continually with a spatula. Be mindful to scrape the sides and bottom of pan while stirring. Continue stirring until the mixture thickens enough to heavily coat the spatula, and you can easily trace a clear path through with your finger. Do not let the mixture simmer or boil, otherwise you will cook your egg yolks. Remove from heat and pour through a sieve directly into the bowl with the butter. Whisk until all of the butter is melted and incorporated into the curd. The sieve will catch any cooked particles and most of the zest. This will allow for a clear texture to your curd.
To cool, place the bowl of curd into a larger bowl of ice water (mostly ice) and stir until the temperature reduces to room temp. You may continue cooling to use immediately, or place a piece of plastic wrap directly onto the curd and allow to finish cooling in the refrigerator.
*I enjoy a very tart lemon curd as I mostly pair with sweet meringue, shortbread, or ice cream. If you like it a bit more tame, use 3/4 cup of lemon juice, if you are like me, use 1 cup.
Lemon Lavender Cake
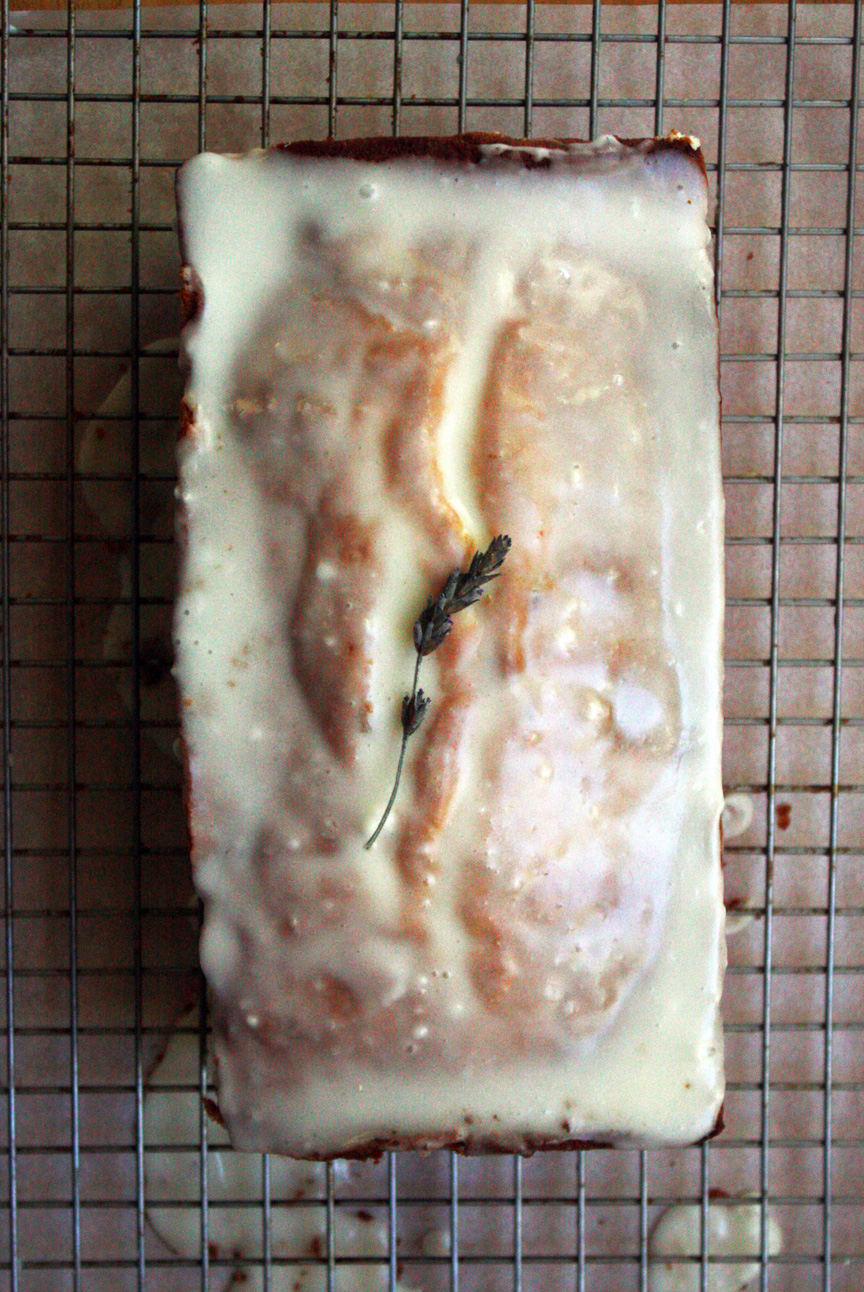
On July 20, 2012 by sixtyacrebakerI love lavender-trimming day. Delicate buds not yet spent, but given their pollen to the bees, at the ready for culinary cajoling. I bundle the limping stalks, tacking my baker’s rack with lines of purple. A scent of Provence fills the air. I toss the dried buds in everything from simple syrup to custards, aioli to bitters, shortbread to biscotti. I especially love it in this cake.
Lemon-Lavender Cake
(this is a riff on a classic 1-2-3-4 cake)
cake
1 cup unsalted butter–room temperature
2 cups sugar
3 cups flour
4 large eggs
1 cup buttermilk
½ tsp salt
½ tsp baking soda
1 Tbs lemon zest
juice of 1 large lemon
1 generous tsp dried lavender buds
Cream butter and sugar until light and fluffy. Add eggs one at a time fully incorporating after each addition. Stop and scrape down the sides with a spatula and resume beating until the mixture looks like buttercream frosting. Meanwhile…in a separate bowl, whisk together the flour, salt and baking soda. Combine the lemon zest, lemon juice and buttermilk together. With the mixer on low, alternately mix in the flour and buttermilk, beginning and ending with the flour, in 3 additions. Do not over-mix, just allow the ingredients to come together. Stir in the lavender. Pour into 2 loaf pans that have been coated in pan spray. Bake at 325 F for approximately 50 mins. Check for doneness after 40 minutes. Cake is fully baked when a toothpick inserted in the middle comes out clean.When cool, pour glaze over.
glaze
1 cup powdered sugar
1 Tbs cream
Juice of lemon (more or less to your taste)
Stir together and pour over cooled cake.
Boozy Kumquat Marmalade
On June 29, 2012 by sixtyacrebakerIt is a thousand degrees in my kitchen. So warm I keep the lights off; somehow believing darkness=cool. Not. Really. Working. Yesterday Mike and I did a drive by pick off. You see, the day before, we were at my brother’s new home
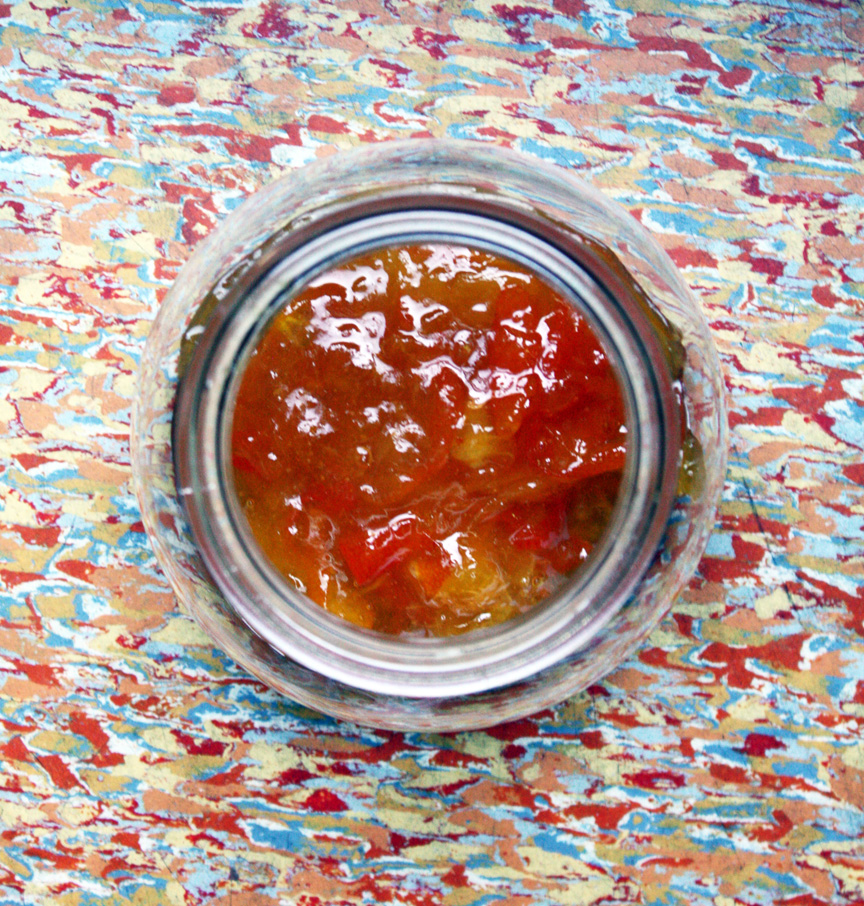
and I noticed a line of kumquat trees. My brother didn’t know what they were, so i figured he wouldn’t mind if I took a handful or 10. Yesterday, while he was at work, we helped ourselves. Today, I didn’t feel much like hovering over the hob stirring & canning. So, I prepared a small batch. 3 jars: one for us, one for him, and one for pouring over vanilla ice cream. no canning required. With a sweet as honey peel and puckering sour flesh, kumquats make a perfect marmalade. Add a splash of booze and it becomes an adult only morning treat.
Boozy Kumquat Marmalade
3 cups finely slice kumquats (pits removed)
1 cup granulated sugar
1 generous shot tequila
pinch of kosher salt
Place all ingredients in a glass or ceramic bowl and let steep for about an hour. Dump into a heavy-bottom pot and cook over medium heat. Let simmer until it becomes jammy..about 20 minutes. Stir occasionally and watch it closely. you do not want it to become like sticky candy. Pour into sterilized jam jars and allow to come to room temperature. Store in the refrigerator.
Blood Orange Caramel Sauce
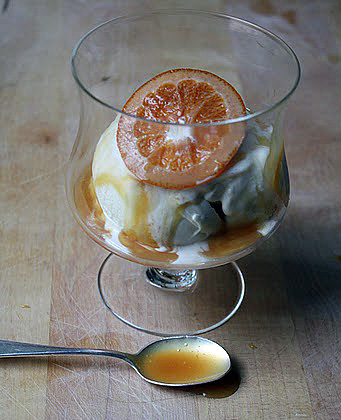
On May 11, 2011 by sixtyacrebakerHonestly. I don’t know how much more I can do with these bloody oranges. I have; sugared and squeezed them, turned them into jam, jelly and marmalade, and rendered them drunk with vodka. I have tossed them in salads, lifted the flavor of cakes, and eaten them out of hand. And now, I have boiled them into a golden-sticky-sugary delight. It is so delicious that I am going to crown myself The Caramel Queen of Orange Grove.
Blood Orange Caramel Sauce
2 cups granulated sugar
1/2 tsp sea salt
1/2 cup blood orange juice
2 Tbs unsalted butter–room temperature
1 cup heavy cream–room temperature
Place the sugar, salt and orange juice in a heavy bottomed saucepan over low heat. Bring to 275F for 3 full minutes. Quickly add the butter and cream. Be careful as it will boil up and spatter. Stir to combine and bring back to the heat. Cook to 225F while stirring constantly, letting it sit at that temperature for a full 3 minutes. Remove from heat and allow to cool. Use while still slightly warm, or at room temperature. Keep in refrigerator for approximately 3 weeks…if it lasts that long! Great over ice cream or in your morning tea
Blood Orange Arancello
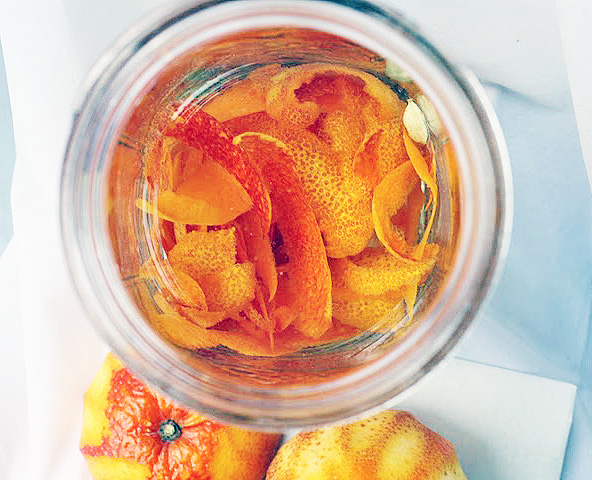
On May 1, 2011 by sixtyacrebakerYou’d think that living in near terminal sunshine with air naturally scented in citrus would lead a gal to evenings on the porch stoop; knees touching elbows, slowly peeling an orange while wistfully remembering her first love. I’m no rube
a blood orange tree weeping under the weight of its fruit is meant to be arancello. It, among other things, is more lustful than wistful.
Arancello
4-5 blood oranges–washed and dried
3-4 cardamom pods–crushed (optional)
4 cups grain alcohol (everclear) or vodka
3 cups water
3 cups sugar
1/2 cup blood orange juice-strained
3 Tbs honey
Remove the peel from the oranges using a vegetable peeler. be careful to avoid any white pith. Place in a sterilized glass jar or crock. Add the cardamom pods, if using. Pour in the alcohol and cover tightly.

Sugared Orange Tea Cake
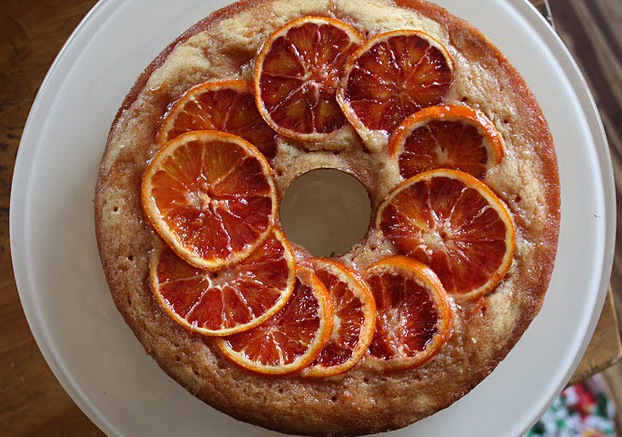
On April 20, 2011 by sixtyacrebakerHey. Remember those oranges that I sugared and canned? Remember how I promised to make lots of good things with them. Well, I don’t break a promise. So here is my first creation; a gorgeous and moist cake perfect with a cup of tea
Sugared Orange Tea Cake
1c + 2Tbs unsalted butter–room temp
2 cups all purpose flour
1 tsp baking powder
1/2 tsp kosher salt
1/2 cup dark brown sugar
1/2 cup granulated sugar
4 large eggs–room temperature
1 tsp vanilla
10-12 sugared oranges
orange syrup (from oranges)
Whisk together the flour, baking powder, salt and baking powder in a bowl. In a mixer fitted with a paddle attachment, beat the butter and sugars until light and fluffy. Add the eggs one by one mixing thoroughly after each one, careful to clean the sides of the bowl as you go. Add the vanilla and beat once again. Make sure the batter is thoroughly whipped before stirring in the dry ingredients. Once you add the dry ingredients, be careful not to over mix. Pour into prepared cake pan (greased and floured). Smooth the top and lay the oranges on top, overlapping a bit. Bake at 325 until a toothpick inserted in the center comes out clean, about 50 minutes. After cake is removed from the oven, but not yet cooled, pour a bit of the orange syrup on top, allowing it to completely soak in before adding more. Do not add more than 1/3 of a cup.
*you can add a bit of grand marnier to the syrup if you like. you can also make a nice icing of confectioner’s sugar with the orange syrup and drizzle for a lovely presentation.
allow to cool completely before removing from cake tin.