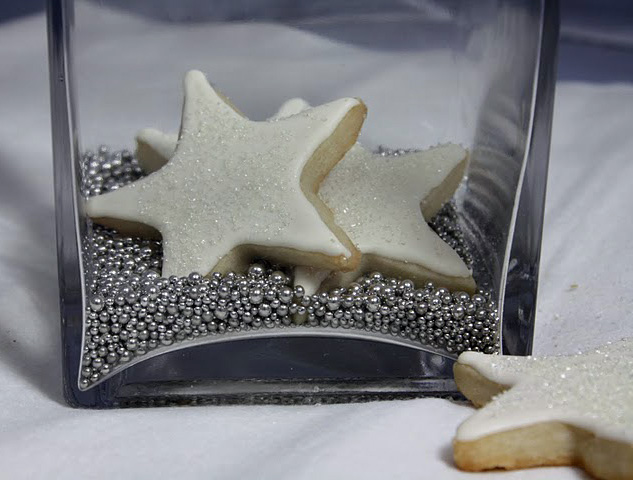
Iced and Snowy Stars
On March 15, 2020 by Christy Larsen I love this shortbread recipe and use it shamelessly whenever I can. Every Christmas my mom would bring out special cookie cutters. The ones she used for shortbread. The mystery still remains why they were shaped like playing card suits and; how”spades” and “diamonds” scream Christmas I never thought to ask
perhaps I should have
She rolled the dough out thicker than usual, slightly underbaked them and half-dipped them in chocolate. They are perfect that way and are still my favorite way of eating them
They are also delightful rolled a bit thinner and baked a bit longer. When glazed with ivory tinted royal icing, and flavored with a bit of almond they are the best accompaniment to your morning cuppa.
Shortbread Cookies
1 cup butter–room temperature
3/4 cup sifted powdered sugar
1 tsp vanilla extract
1/2 tsp salt
2 cups flour
Beat sugar and butter until completely mixed together, but not light and fluffy. Add vanilla and salt and mix until just incorporated. Slowly stir in flour and only mix until just incorporated. Divide dough in 2 portions, wrap in plastic and place in the refrigerator for a few hours or overnight. When ready to bake, roll out and bake on parchment paper. Top with sprinkles or leave plain and bake at 325 until just starting to brown on the bottom. Once cooled you can dip in tempered chocolate or glaze with royal icing (alton brown recipe here), flavored as you choose.
Just a simple tip: I glaze the cookies using a pastry bag and let them dry. I then dip a small paintbrush in a bit of Everclear or vodka (or you can use extract) and gently swipe it across the top. I then immediately sprinkle the sugar on top. the liquid will evaporate almost immediately–but it will allow your sugar to stick without sinking into the icing.

Gingerbread Marshmallows
On June 28, 2018 by Christy LarsenRoasting marshmallows is a year-round sport in my house. Sometimes, I just turn on the stove burner, load a fork, and fire away. Normally, eating ‘mallows out of hand is not my thing…I like a charred exterior and molten center. I do make an exception with these, as they are so good au natural, lightly toasted and dipped in chocolate, or as a float on your favorite hot beverage {even tea…especially tea}.
Gingerbread Marshmallows
3/4 oz gelatin
1/2 cup cold water
1 1/2 cups granulated sugar
1/2 cup dark brown sugar
1/4 cup water
2 Tbs molasses
1/4 tsp kosher salt
1 tsp ground ginger
1 tsp ground cinnamon
1/2 tsp ground clove
2 egg whites
Put sugars in a saucepan. Add 1/4 cup water to make a mixture that looks and feels like wet sand. What is most important is that all sugar has the same amount of moisture. Add molasses, salt, ginger, cinnamon and clove, and place over low heat. Cook until it becomes a sugar syrup of 235-240 degrees. It should have the consistency of corn syrup.
Meanwhile…place 2 room temperature egg whites into the bowl of your mixer. Add the salt .
Prepare gelatin. Place 1/2 cup water in a bowl. Sprinkle the gelatin evenly over the water. Let bloom.
Once the sugar syrup is ready, turn off heat and let sit for a couple of minutes…not too long. Start your mixer on low and get the whites to foamy. Mix the gelatin into the sugar syrup and stir until melted completely. Bring the saucepan over to the mixer and turn it to high. Slowly pour the sugar syrup into the bowl, careful not to hit the whisk attachment. Leave on high and mix until the mixture is warm, but full volume and comes to a peak. While it is still warm, pour into tin or pan. Sift powdered sugar on top. Cut into squares and store in airtight container.
These are yummy tossed into a cup of hot cocoa and a real grown up treat when toasted and sandwiched into a s’more.
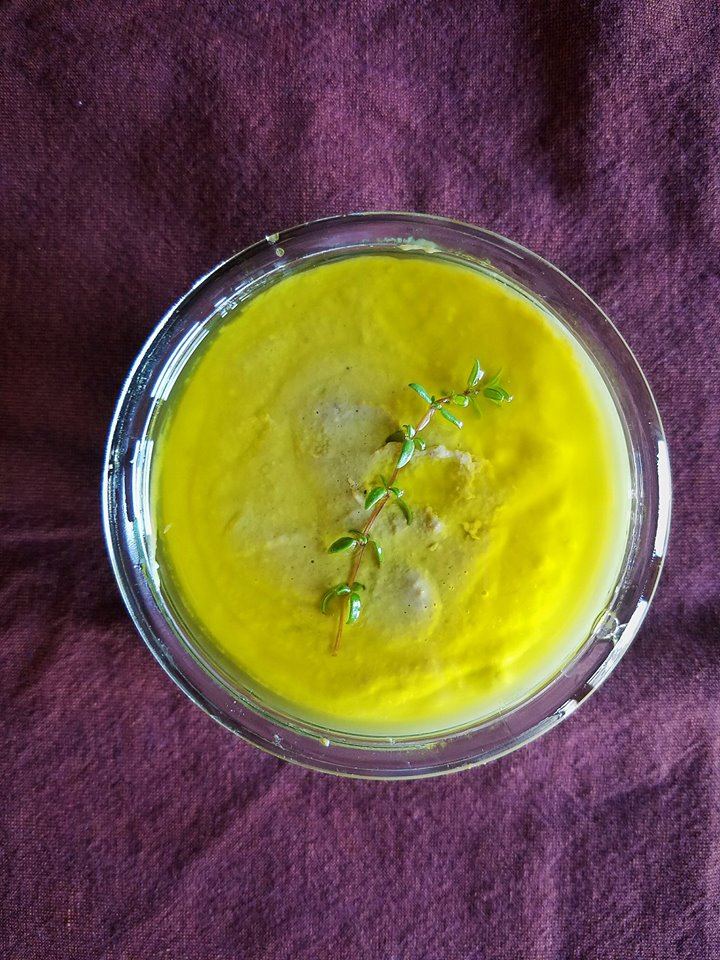
Boxing Day Pate {chicken liver pate}
On December 26, 2017 by Christy LarsenI’ve celebrated boxing day a few times. In my first experience of “celebrating”, while living in the UK, I found myself going from store to store in my village; finding locked door and closed signs. Even with mail delivery two times a day, I didn’t get the memo that commerce ends when Christmas celebrations begin.
Boxing day is a lovely tradition and much more meaningful than half-off sales and crowded malls.
This simple pate rounds out a simple buffet. Or if you fancy yourself a bit more posh, a nice glass of champs, a cool jar of caviar, and this on a silver tray would have the Queen bowing to you.
Chicken Liver Pate
1/4 cup shallots–finely diced
1/2 cup salt pork –diced
2 large garlic cloves–smashed but kept whole
2 Tbs olive oil
1 lb chicken livers–well trimmed
1 cup chicken broth
leaves from 1 sprig thyme
pinch black pepper
1 stick butter
3 generous tablespoons cognac
In a saute pan with non-sloping sides, heat the olive oil and toss in the garlic, the shallots and the salt pork. Cook on low until the shallots begin to soften. Wash and dry the livers. Toss them into the shallots and oil and let brown, but don’t cook all the way through. This will only take a few minutes. Toss in the thyme and black pepper, then pour in the chicken broth. Cover the pan and let cook until the liver is cooked through and everything else is softened. Remove from heat and immediately tip everything into a food processor. Add the butter in chunks and process until you have a nice thick paste. Pour through a fine sieve into a clean bowl. Stir in the cognac and then pour into ramekins or gifting jars. For a nice presentation, you can top with clarified butter and a fresh sprig of thyme.
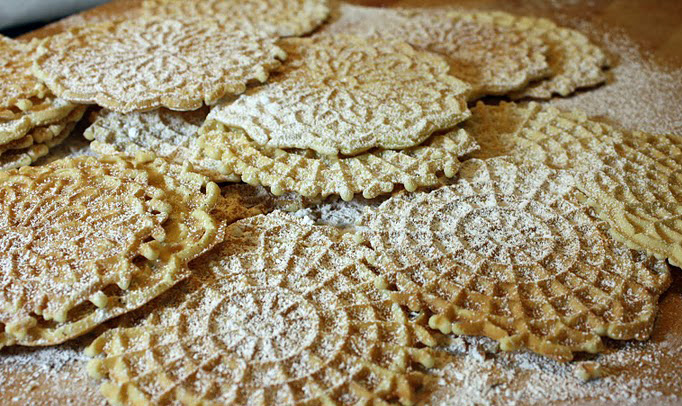
Pizelle
On December 15, 2015 by Christy LarsenI learned to make pizzelle at the knee of my great-aunt rose when I was quite young. She was an amazing baker and a real stickler about cleanliness. It was more than once that the “no lick” rule was enforced. Each time i lift my pizzelle iron from its tattered and batter-scarred box, I am reminded of holidays past. Memories of my dear aunt rose float richly in the fragrance of these cookies. The season begins…
Pizzelle
3 1/2 cups flour
1/4 tsp kosher salt
1 Tbs + 1 tsp baking powder
4 eggs
2 egg yolks
1 1/2 cups granulated sugar
3 Tbs Anise flavored extract
4 oz unsalted butter–melted and cooled
Combine the flour, salt, and baking powder in a large bowl. In another bowl, whisk the eggs, yolks, sugar, extract and melted butter. Stir into the flour mixture. this batter will be nice and thick, similar to a pate a choux. Drop by the spoonful onto a hot pizzelle iron. Check after 60 seconds for color. You want it to be a light blonde in color. Do not undercook, undercooked pizzelle will not get nice and crispy. Sprinkle with a bit of powdered sugar and serve.
You can form these into cones or cups, or even cut in fourths while they are still warm.
I like to use them for large and beautiful ice cream sandwiches…or rolled and filled with a bit of brandy flavored whipped cream…but I mostly like them just as they are
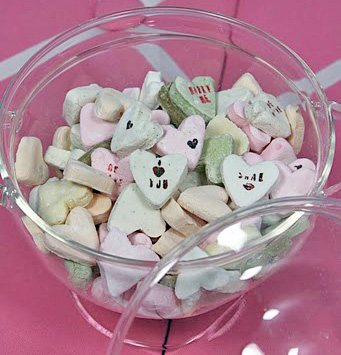
Homemade Conversation Hearts
On February 5, 2015 by sixtyacrebakerValentine’s day wouldn’t be complete without a conversation through candy hearts. I remember the days when hearts were carefully shared, making sure “i love you” didn’t get inadvertently passed, to a 4th grade crush. Also important: sharing only
the good flavors. Anyone would shudder to see the object of her affection, chewing up and spitting out her heart. Ten years old is too young to fully understand foreshadowing. I am confident any valentine would appreciate an “i love you” or three in flavors such as orancello, coconut, green tea, almond, anisette, coffee and vanilla bean. These are so much fun to make. I think a robin’s egg blue box full of “marry me” hearts would be a darling proposal. Or a love poem stamped out word by word, heart by heart, snaked down the dining room table, as a simple but thoughtful centerpiece. The possibilities are endless.
Just. Like. Love

Conversation Hearts
1/4 oz gelatin
1/2 cup water
2 tsp light corn syrup
2 lbs powdered sugar
cornstarch
flavorings
color
rubber stamp kit and/or food color pens
Place water in a bowl and sprinkle gelatin over. Let bloom. Add the corn syrup and gently cook in the microwave until the gelatin and corn syrup have melted. Do this in 20 second intervals. Mix the gelatin mixture into about 2/3rds of the powdered sugar. Knead with your hands, adding more powdered sugar as necessary until the dough is satiny and doesn’t stick to the counter. Divide the dough into 6-8 pieces, coloring and flavoring as desired. Keep tightly wrapped in plastic wrap, as this dough will dry out quickly. Keep some powdered sugar on hand, in case adding color and flavor makes the dough sticky.
Roll the dough out and cut with small heart cutter. Place on a cornstarch dusted sheet pan and let dry a minimum of 48 hours. When ready to decorate, use food color based pens, or brush food coloring directly onto a rubber stamp with the words spelled backwards. Press the heart onto the stamp and let dry about 15 minutes. You can also paint food coloring directly onto the heart as well.
{this is a post transcribed from my blog fudgeripple. the content exclusively belongs to me}
Pecan Pralines
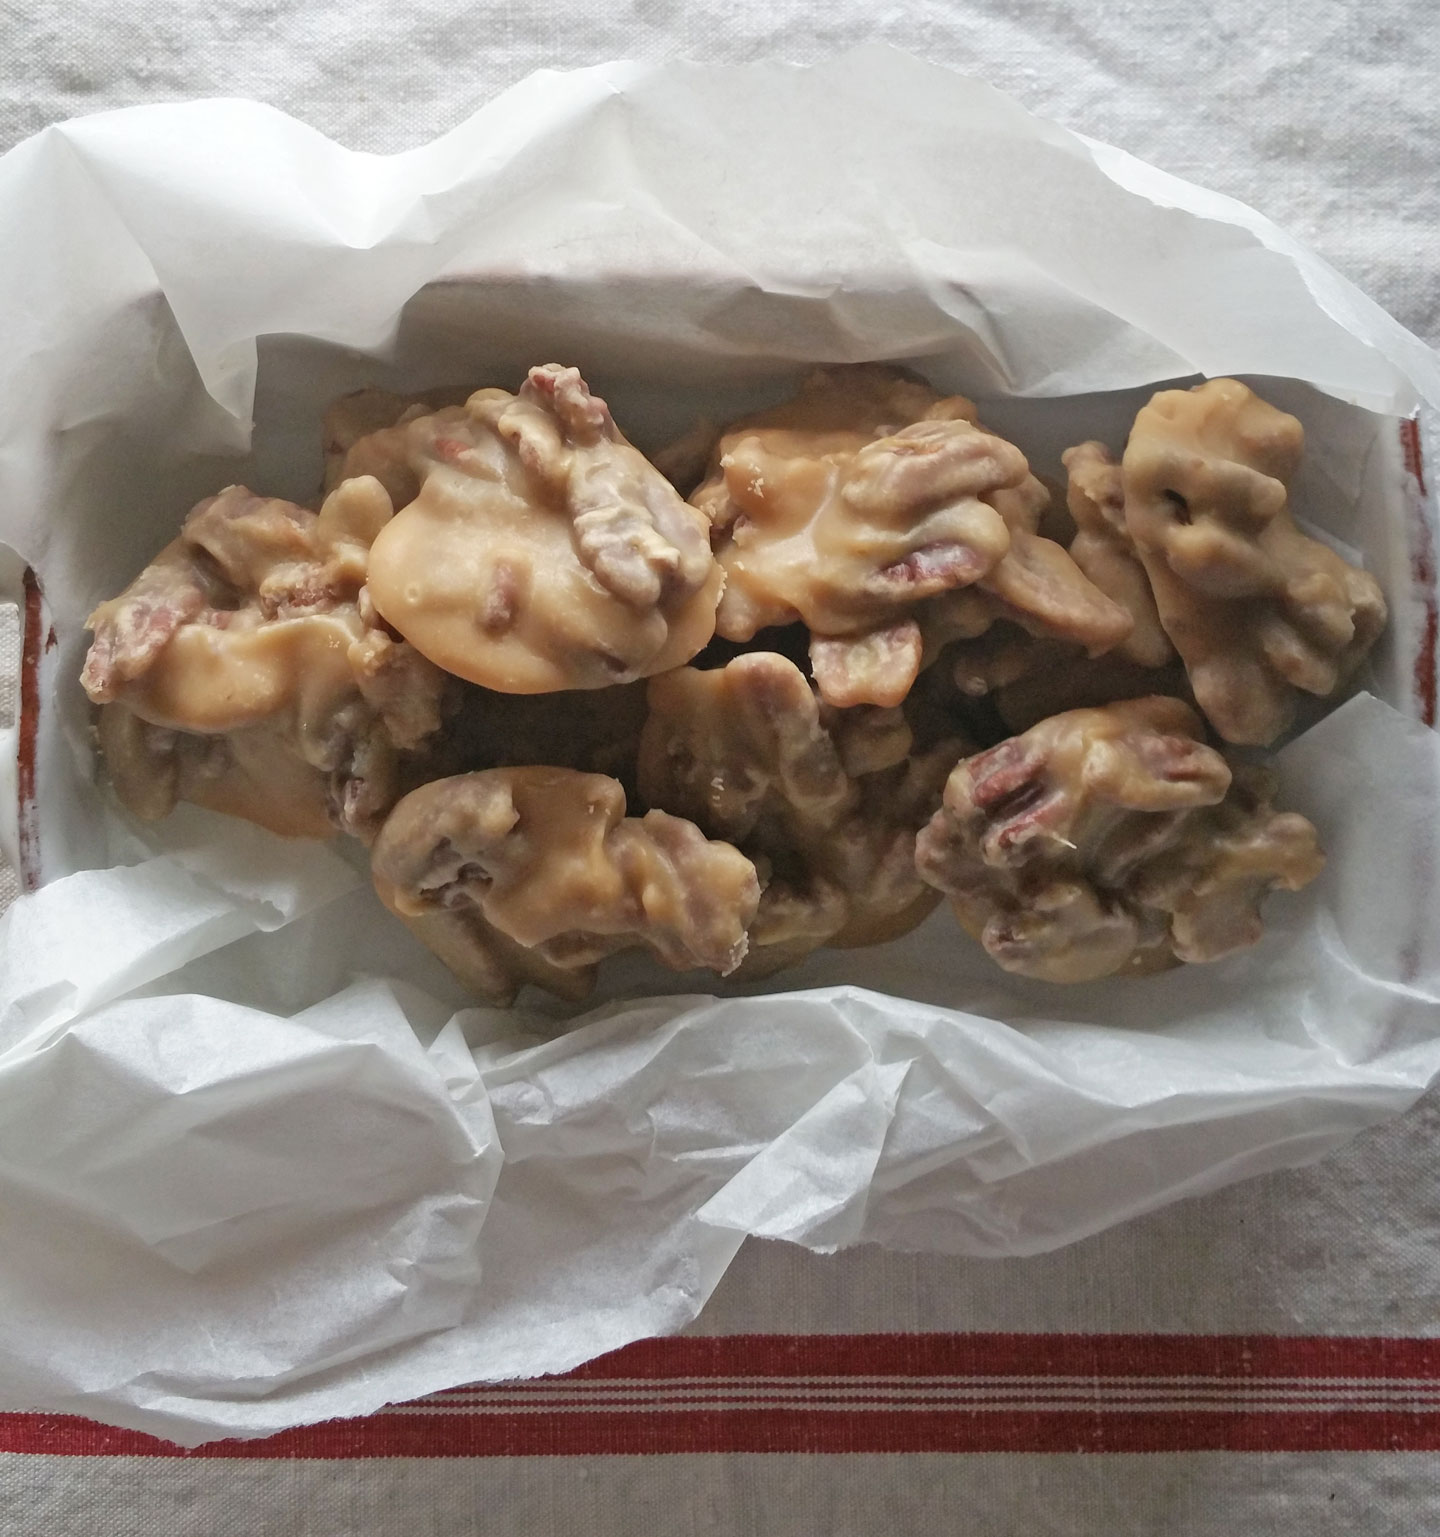
On December 15, 2014 by sixtyacrebakerPRAWWWWWWlines. Say it with me, and then get in the kitchen and make some. You won’t be disappointed. I Guarantee It.
This recipe came from my love of the sweet confection. I have been obsessed with the treat since my first visit to New Orleans way back when Emeril had a last name. I printed this recipe and a story to go with it on my previous blog, but they are so good, I thought they warranted their own page on Sixty Acre Baker. They make a perfect holiday (or any time of year, really) gift.
Pecan Pralines
1 quart heavy cream
3 cups granulated sugar
generous pinch of kosher salt
1 1/2 lbs toasted pecans
1 Tbs+ 1 tsp lemon juice
1 Tbs unsalted butter
2 tsp vanilla
In a heavy bottomed pan, stir together the cream, sugar and salt. Place on low to med-low heat and pop in a candy thermometer. Cook until thermometer reaches 234 degrees F. The wait between 220 and 234 is lengthy..don’t be tempted to up the heat to make it happen faster. You can pretty much leave it alone until it reaches 220, at 220, stay in the kitchen checking on it frequently. When it hits 230, watch it and start stirring, it will start to change colors at this point and you want to make sure the bottom doesn’t burn. There will be brown bits, but just mix them in. Stir, stir, stir. When it hits 234, take the pot off the heat, remove the thermometer and add the lemon juice, vanilla, butter and pecans. Stir to incorporate, then pop the thermometer back in and bring the temp back to 234. It will go a bit faster this time, keep an eye on it and stir continually to prevent burning on the bottom. When it hits 234, spoon it out in dollops (i use a soup spoon),onto parchment lined cookie sheets, or aluminum foil that has been sprayed or greased lightly.There are a lot of pecans in this, so make sure you get a nice mix of the caramelly goodness. One batch will make about 50 moderately sized pralines. They will look like caramel until you cool them. As they cool and sit, they will begin to get a bit cloudy. That is a good thing. You are not looking for chewy here.
Let cool for a few hours. They will keep for quite a while if you keep them in an airtight container in a dry place. Please, do not put in the fridge.
Sweet Eggs
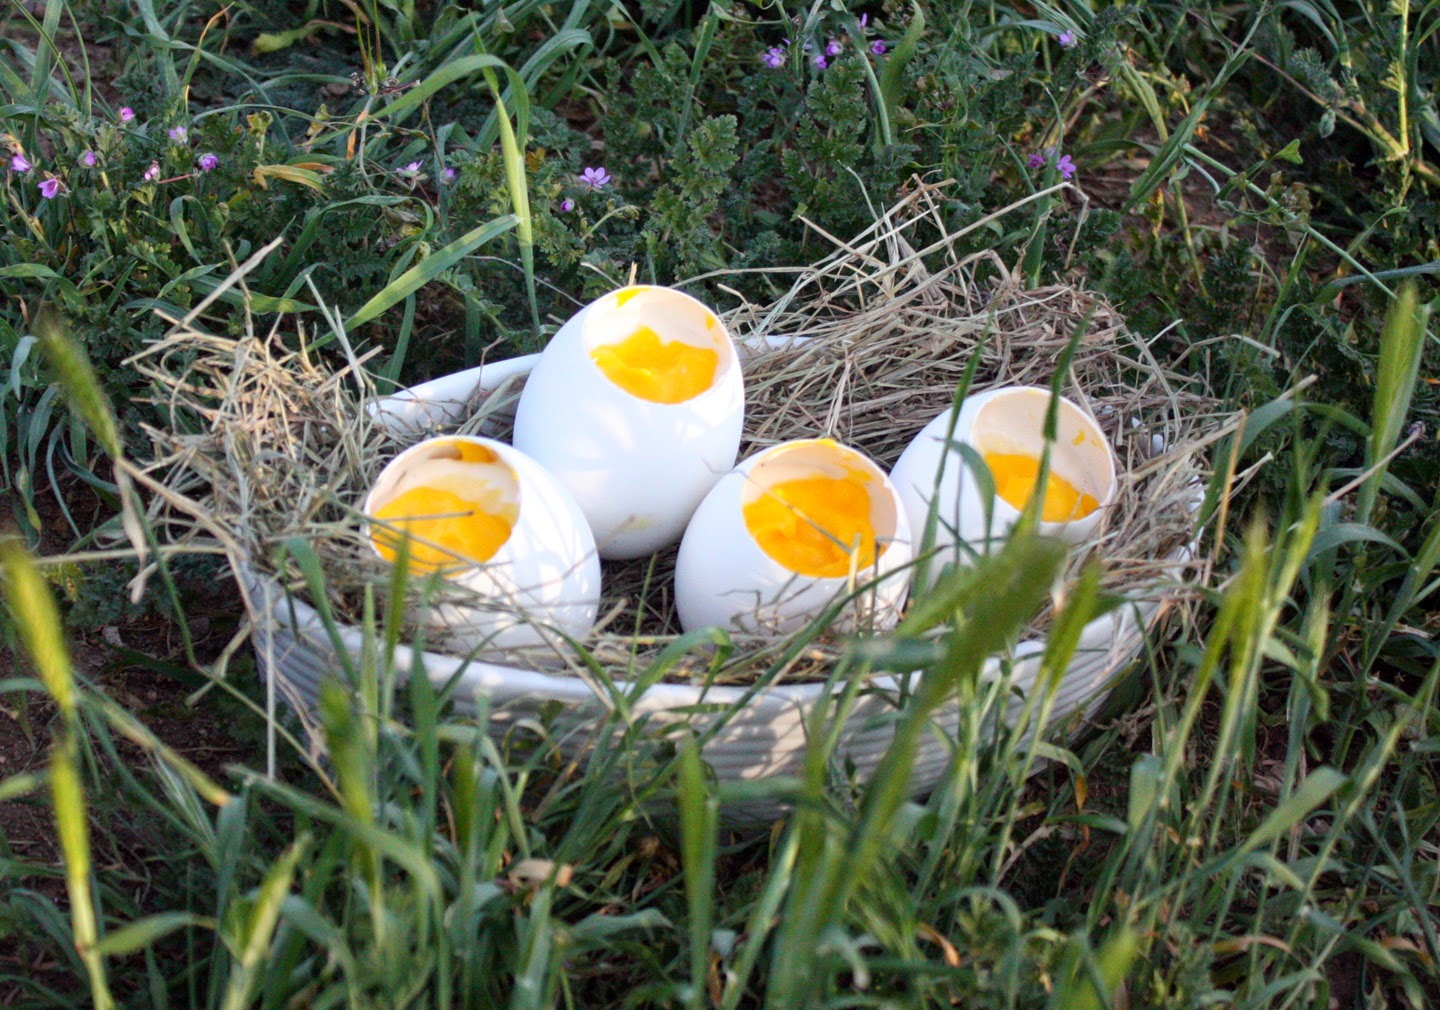
On May 8, 2014 by sixtyacrebakerCome spring we bring it outside. Entertaining is a bit more relaxed and food becomes a bit less fussy, perhaps a tad more whimsical. Certainly, more seasonally driven. We keep chickens, ducks and geese; which means a generous supply of eggs. When putting together a weekend brunch, I love to serve sweet eggs. Very simple, and darling on display, these eggs are filled with vanilla yogurt and lemon curd.
Sweet Eggs
egg cups
emptied and cleaned goose, duck or extra large chicken eggs
-using an egg topper is by far the easiest way to get those perfect edges.
-while the eggs are uncooked, take the top off. separate the whites and the yolks as you empty the shell. use the yolks for your curd, the whites for another delicious recipe.
-you must be gentle when washing the shells, but you must be very thorough in the washing. there may be a layer of membrane attached to the interior of the shell. make sure you get that completely out. it comes out easier when you run water through it. once the membrane is cleared, use a good soap and hot water to get it completely cleaned out. let them air dry with good air-flow.
-you can either set the eggs in egg cups, or use the top inverted and glued to the bottom of the egg to create a stand. you may also just want to place in a small bowl, or in a large bowl on top of artificial grass (or if you have access, hay or straw)
plain or vanilla yogurt
vanilla extract-optional
brown or granulated sugar -optional
if you are using plain yogurt and wish to sweeten it up a bit (i recommend doing so, particularly if you have a nice tart lemon curd), add just a touch of sweetness with your sweetener of choice. i like brown sugar because it takes very little and adds a bit of a caramel flavor to the yogurt. start with 1 tsp per 2 cups and add more to taste. the same with the vanilla.
lemon curd
your favorite lemon curd recipe
-martha has a nice one HERE
-make the lemon curd as directed and let cool completely
to assemble
Place the yogurt and lemon curd in separate decorating bags (alternatively you can use a small spoon). layer directly into the shell starting with the yogurt. fill the shell approximately 1/3 full with the yogurt. add a thin (max 1/4″) layer of lemon curd. add more yogurt to almost reach the top of the shell, and top with more curd, placed to resemble an egg yolk.
serve with demi-tasse spoons.
you may also add gingersnap crumbles or graham cracker crumbles to the bottom for additional flavor and a bit of crunch. serving with a bit of granola is a nice compliment.
for something really fun, fashion sugar cookies into “toast soldiers” and pop them right in to look like a soft boiled egg and toast.

Snow Globe Cupcakes
On November 19, 2012 by sixtyacrebakerI love snow globes. When i see grand collections, a tinge of envy bubbles up; like plastic snowflakes in a whirl. It then turns to a settling calm, because, the last thing i need is another collection. Unless of course we are talking
edible. Like these little darlings. This is an incredibly simple project perfect for your holiday table.
Snow Globe Cupcakes
1 recipe of your favorite cupcake baked and cooled
my favorite
1 recipe of your favorite frosting
1 dozen plastic clear christmas balls
like these

cupcake toppers deer, trees, house in the woods; whatever your fancy
edible glitter in white
ribbon
imagination
using a sharp scissor or craft knife, cut the top off the ornament like so

Wash and dry the “globe” then sprinkle some of the edible glitter in the bottom. swirl it around. Most of the glitter will stick, what doesn’t will fall to the cupcake when you invert. If you want lots of “snow” in the globe, brush a bit of vodka on the inside of the globe, swirl the glitter. It will stick well, and the vodka will evaporate, eliminating any unwanted moisture. Frost the cupcake as you normally would, place your decorations on top, and carefully invert the globe over the top. Finish with a little bow
Chocolate Easter Eggs with a Surprise
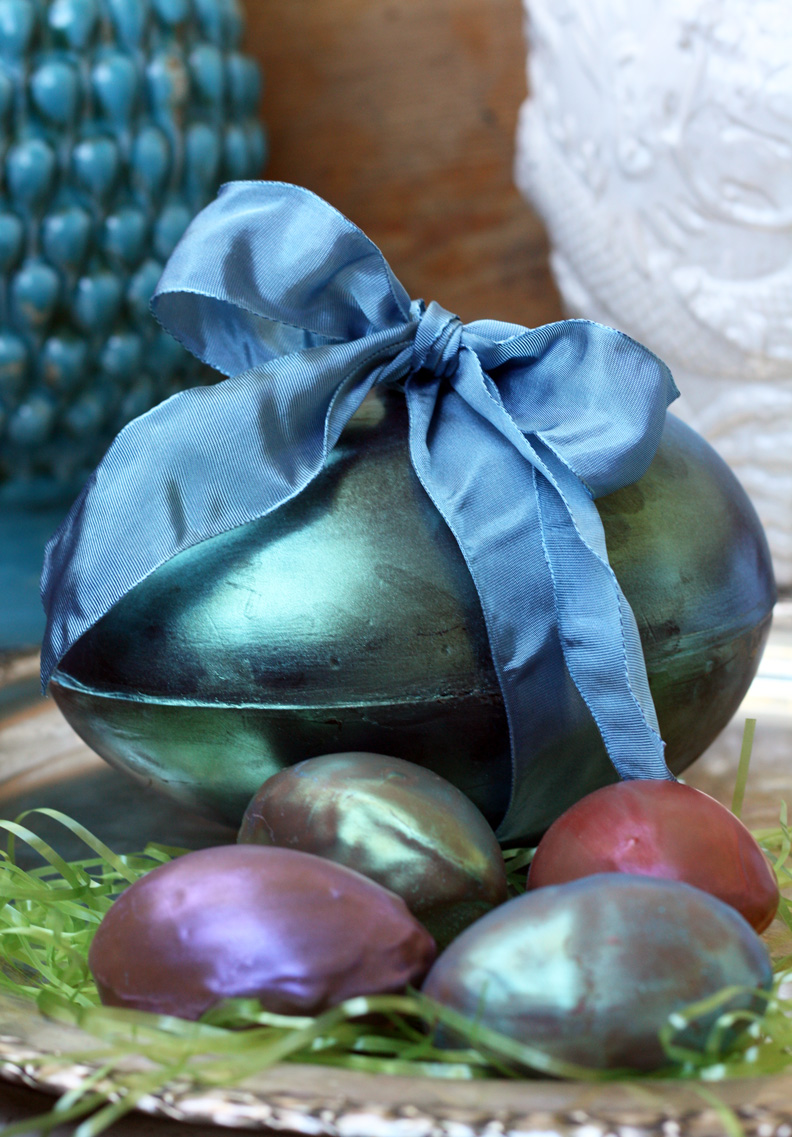
On March 30, 2012 by sixtyacrebakerI have always loved those giant chocolate eggs from Italy. This time of year they line the shelves of my local Italian market. Large and hollow, a handful of small candies tossed in the cavernous hole, and wrapped in bright mylar paper. Easter basket ready. The real joy is breaking through the chocolate shell to see what goodies lay within. This year, i am giving the Easter Bunny a helping hand. Extra special chocolate filled with toys and jewels; hand chosen for each recipient.
Imagine the joy and surprise when these beautiful eggs are cracked open.
trinkets
toys
and
jewels
tumbling out
A happy easter indeed.
If you want more details on how to make these leave a comment or drop me a line at sixtyacrebaker(at)gmail(dot)com

Gravlax
On December 26, 2011 by sixtyacrebakerWe had a gorgeous feast for Christmas dinner. A feast of seven fishes. I was excited to present home cured gravlax during cocktails. Many years ago, before i had cable, I watched a lot of Julia Child on PBS. An episode I distinctly remember is one where she made gravlax with a Seattle chef. I was amazed, but never actually made it. Truthfully, I’m not much a fan of salmon. But this, this gravlax, is something really special. Pure in flavor: sweet, salty, briny, and fresh. My family, never shy to poke fun, was primed to make bait jokes. but They found it difficult to utter much of anything through their stuffed gullets.
Gravlax
this takes several days to cure, plan accordingly
1 1/2 lbs fresh salmon filet (you must use salmon in season)
1/2 cup kosher salt
1/4 cup brown sugar
1/4 cup vanilla sugar*
1 Tbs grapefruit zest
1 heaping Tbs pink peppercorns
1-2 sprigs thyme
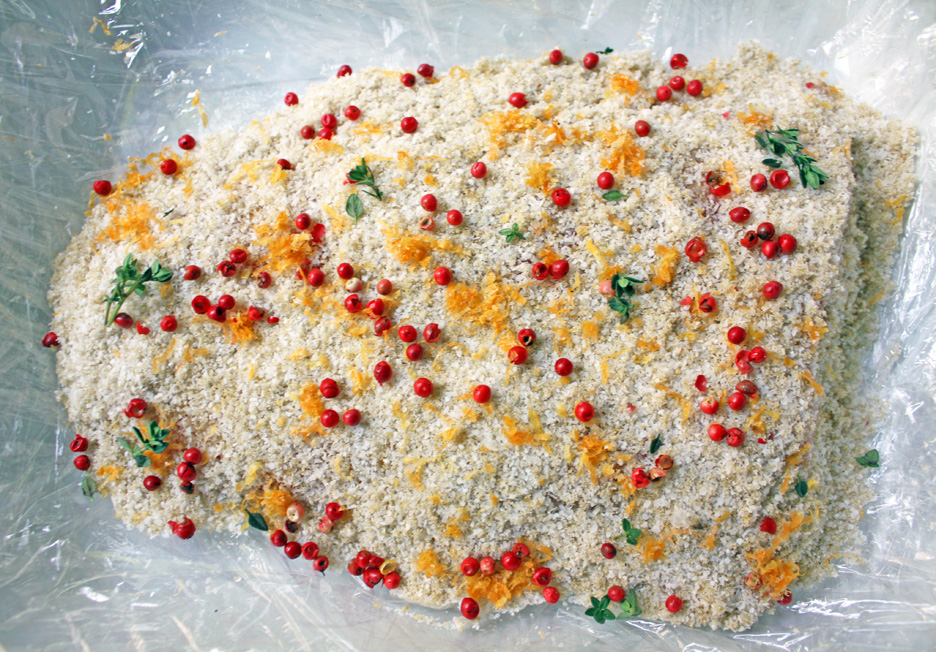
Rinse and dry the salmon filet. Line a casserole dish with plastic wrap, overlapping considerably. Place salmon filet in dish. In a bowl mix together the salt, vanilla sugar, brown sugar, grapefruit zest, peppercorns and thyme. Coat the salmon heavily with the mixture…be generous and make sure the entire surface is covered. Close the salmon in the plastic wrap, making sure it is well covered. Place a board or casserole dish on top of the fish, then use cans or bottles to weigh it down. Place in the refrigerator for 24 hours. After 24 hours, remove the weight, open the plastic wrap; you will see that the sugar and salt are now liquid. Use it to baste the fish. Wrap again in plastic and place the weight back on. Place in the refrigerator for another 24 hours. On day three, repeat the process. On day four, your fish will be cured (if you are using a larger piece of fish, it may well take a bit more time). Your fish should be firm and have become a bit deeper in color. Remove from the cure and gently rinse with very cold water. Dry. Slice off a thin piece and taste. If it is overwhelmingly salty, place cold water in a casserole dish and put the fish in meat side down. Cover and place in refrigerator and let sit for 1 hour. Remove from water and taste again. if the fish is still unbearably salty, soak it again for a maximum of 1 hour.
Serve with blini, creme fraiche and dill or chives

*to make vanilla sugar, whirl 1 cup granulated sugar with 1/2 dried vanilla bean pod in a food processor.